
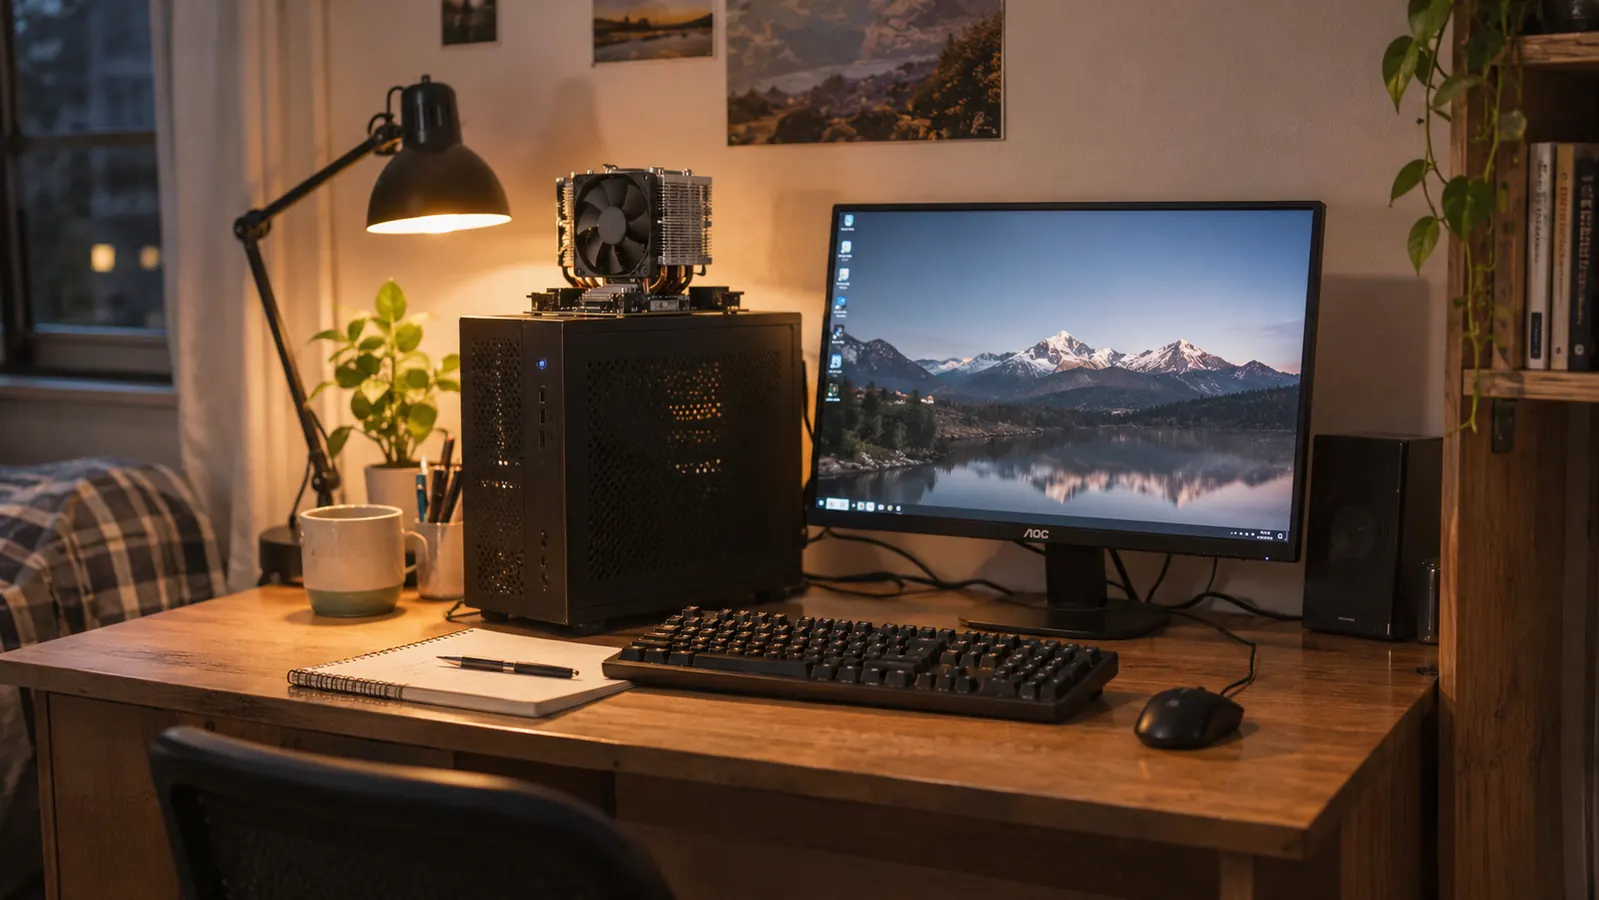
The first honest thing I can tell you about the CanaKit Raspberry Pi 5 Starter Kit PRO is that it did not make me good with computers. I bought mine in February 2025 because I was tired of booting my old Dell from a USB drive every single time I wanted to practice Linux. I am 56, I work full time as a hospital billing clerk in Knoxville, and I started learning any of this in January 2024, when my department moved to new software and I spent a week feeling like the slowest person in the building. Nobody handed me a plan. I watched videos, I read, I got confused, and eventually I bought a small computer I had to put together myself. Here is what that kit actually is, and what it is not.
If you are shopping for one of these, someone has probably already told you it is the easy way in. That is half true, and the false half is the part that costs people money. The CanaKit kit removes the worst job, which is ordering six pieces from five different places and hoping they fit. It leaves in place the job that actually teaches you something, which is assembling a machine, starting it up, and learning what to type once it is running. Both halves are worth knowing about before you buy. The reviews I read before mine skipped the second half entirely, so I am going to spend most of this article on it.
The Quick Verdict
One box, one evening, one working Linux computer. It is not a course and it will not hold your hand, and the printed guidance is thinner than a nervous beginner wants it to be.
Amazon Check Today's Price →What the box got me out of: booting a laptop from a USB drive every Tuesday night
The 8GB board, the case, the fan, the heat sink, the 45W power supply, and a 128GB card with Raspberry Pi OS already written to it. I was at a working desktop in about 40 minutes and it started on the first try.
Amazon Check Today's Price on Amazon →What Comes in the Box, in Plain Words
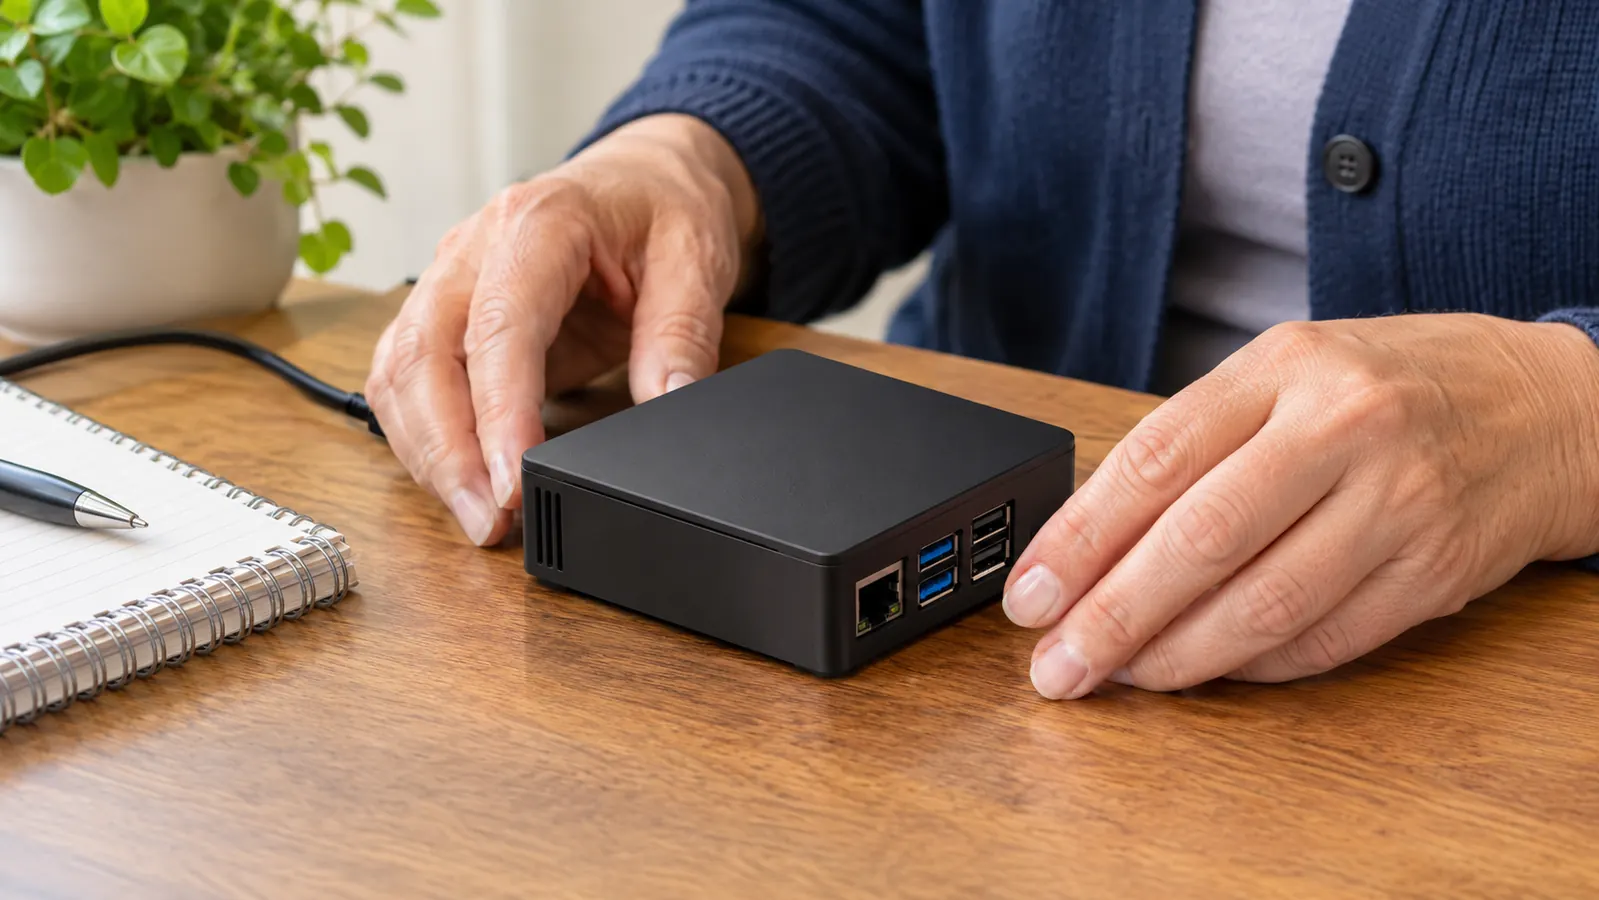
Mine is the 8GB version with the 128GB card. In the box you get the Raspberry Pi 5 board with 8GB of RAM and a 2.4GHz 64-bit quad-core processor, the CanaKit case, a low noise bearing system fan, a heat sink, a 45W PD power supply, a 128GB micro SD card with 64-bit Raspberry Pi OS already written to it, a small USB micro SD card reader, and two 6-foot display cables. The cables mattered more than I expected. My monitor is a 22-inch screen Theo gave me, and I did not have to guess which adapter I needed or order a second cable. What was in the box fit.
What is not in the box: a monitor, a keyboard, a mouse, and a real manual. I used the wired keyboard, the wired mouse and the 22-inch monitor that Theo handed down to me, so my setup was the kit plus things I already owned. If you own none of those three, count them in before you decide, because a Raspberry Pi with no screen is a small board with a processor on it and nothing else.
I tried it on the kitchen television first, on a Saturday morning in February 2025, because the television was already in the room and I was impatient. The picture came up, but the text was sized for a couch, and I could not read a directory listing from that far away. I carried the whole thing back to the back room, plugged it into the 22-inch monitor Theo gave me, and that is where it has sat ever since. If you plan to learn on a television, plan on squinting.
The card arriving pre-loaded is the single best argument for buying a kit rather than loose parts. In 2024 I made a bootable USB drive for the Dell. I had to download an image, install a program called Rufus, pick settings I did not understand, and then change the boot order in the Dell's setup screen. That took me an evening and a second try. With the CanaKit, I slid the card into the slot, plugged in the power supply, and it came up. First try. That is what the extra money buys: not knowledge, one fewer place to fail.
Assembly Took Me About 40 Minutes
I put it together on a Tuesday evening at the desk in the back room, which is my 7 to 9 study slot. The board goes into the case, the fan and the heat sink go on top, and the screws are small enough that I used the driver from my iFixit kit out of habit. I got the fan sitting wrong the first time and had to back two screws out. That was fifteen of my forty minutes. A careful person who reads the pictures before starting can do the whole thing in half an hour.
The cooling deserves a sentence, because it is the reason a kit beats a bare board for someone like me. The fan and the heat sink are included and they go on before you ever power the machine up, so you are not ordering them later and hoping they arrive before your enthusiasm does. I have never overclocked mine, so I cannot tell you whether the cooling is enough for pushing the processor harder than it is meant to go. For terminal work and small scripts it stays cool, and I do not hear the fan from two feet away.
The instructions are pictures with short labels, and they assume you know which side of a board is up. That is my honest complaint. A person who has never opened a computer will look at those pictures and hesitate, and hesitating is not the same as learning. What saved me was that I had already opened the Dell in 2024 to reseat the memory, so a circuit board was not new to me. If it is new to you, watch a video of someone assembling one before you start. The job is not difficult. It is just not explained.
When I pressed the power button the first time, the monitor stayed dark long enough that I got up to check the power supply was pushed in all the way. Then the desktop appeared. A first start on a new card takes longer than the ones after it, and nobody had told me that, so those thirty seconds cost me a small amount of panic and nothing else.
How I've Used It Since February 2025
The machine has not moved since the week I built it. It sits on the back room desk next to Theo's monitor, with the wired keyboard and mouse in front of it, and I shut it down at the end of every session. The reason I bought it was that booting the Dell from a USB drive every Tuesday meant ten minutes of setup before I learned anything. Now I sit down, press the power button, and I am where I left off. That sounds small. It is the difference between practicing twice a week and skipping practice because the setup is irritating.
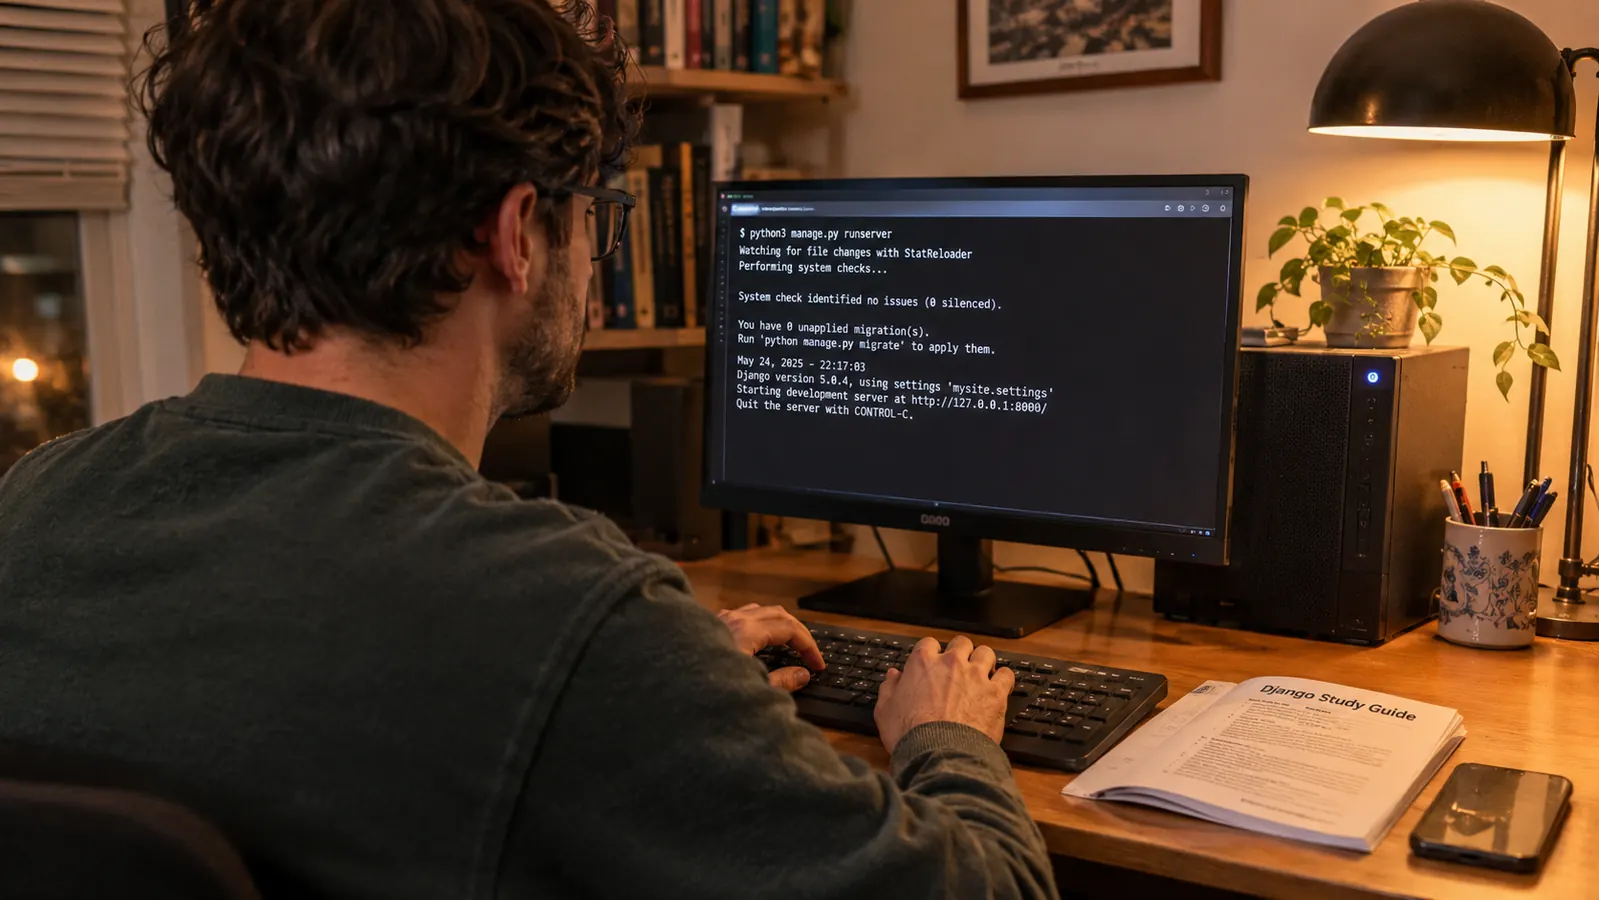
What I actually do on it is narrow. I practice in the terminal. I make folders, move files, change permissions, and read the permission string in a directory listing until the letters stopped looking random to me. I write short Python scripts, the kind that print things and loop through lists, and I break them on purpose to read the error messages. I do not run a media server. I do not have a project that does anything useful for anyone but me. It is a practice machine, and it is very good at being one.
One Tuesday in March 2025 I decided to understand permissions properly, which was the assignment I had given myself that week. I made a folder, took away my own read permission on purpose, and then could not get back into it, because I had also taken away the permission that would have let me undo the change. I sat there for twenty minutes before I remembered that an administrator account on the same machine could put it back.
Now the part I need to be careful about. I failed Core 1 of the CompTIA A+ in February 2026 and passed it on my second attempt in May 2026. I am studying Core 2 now and I have not sat that exam. The Raspberry Pi did not get me through Core 1. My printed study guide did that, along with a second try and my own stubbornness. What the Pi did was make the Linux questions stop being abstract. When the exam asked about file permissions, I had already broken them and fixed them on a real machine that same week. That is a real benefit and it is a smaller one than the videos promise.
What I Liked
- Everything needed to reach a working desktop ships in one box
- The 128GB card comes with Raspberry Pi OS already written to it, and mine booted on the first try
- The fan, heat sink and 45W power supply are included, so there is no second order to place
- Two 6-foot display cables meant my existing monitor connected with nothing extra
- Assembly took me about 40 minutes, with no damage and no stripped screws
Where It Falls Short
- No monitor, keyboard or mouse in the box
- The printed guidance is pictures with short labels and assumes a comfort level a true beginner may not have
- You are on Linux, and the first week of Linux is genuinely hard
- It is a desk machine and does not travel to the kitchen table
- Nothing in the box teaches you anything; the learning is still yours to do
Assembly took about 40 minutes. The first boot from the included card worked on the first try. Neither of those was true of my last computer project.
The Parts Nobody Warns You About
The first thing nobody says clearly enough is that this is not a small Windows computer. It runs Raspberry Pi OS, which is Linux. The desktop looks familiar enough that you relax, and then something asks you to type a password into a black window and you have no idea why. I spent my first two sessions just learning how to open the terminal and what the letters in front of the cursor meant. That is not a fault in the kit. It is the thing you are buying, and it ought to be on the label.
The second thing is that the terminal is not optional. On Windows I could avoid it for years. Here it is the shortest path to almost everything, and the people writing guides online will tell you to run a command without explaining what it does. My rule became simple: never type a command I cannot explain in one sentence. That rule slowed me down for a month and it saved me from deleting things I wanted to keep.
I kept a sheet of paper beside the keyboard for the first month, with every command I used on one line and one sentence beside it saying what it did. By April 2025 that sheet had forty lines on it and I had stopped looking at it. When I read it now I can see exactly where I got stuck, and the stuck places were never the hardware. Every one of them was a word nobody had defined for me.
The third thing is that the card reader in the box is worth more than it looks. I used it to look at the SD card from my HP laptop when the Pi would not do something I expected. Being able to see the card as a drive on a machine I already understood made the whole thing less frightening. I also keep my study notes on a separate USB drive, so nothing I care about lives only on the Pi.
The fourth thing is that it is a desk machine. Mine does not travel. If you picture yourself learning on the couch or at the kitchen table, you are describing a laptop, not this. My reading happens at the kitchen table and my hands-on work happens in the back room, and that split has been fine, but I want you to know it is a split before you buy.
What It Did Not Do for Me
It did not make the studying easier. The A+ objectives are a long list of things to understand, and a computer on your desk does not shorten that list. I want to say that plainly because there are a lot of videos implying that a project machine and a certification go together like a lock and a key. They do not. The exam is its own job. The Pi is a place to see the exam's ideas with your own eyes, which is different, and still worth something.
It did not replace the old Dell either. The Dell still does the jobs where I need a laptop somewhere else, and I still use it when a lesson wants me to look at a setting in a place I already know how to find. What changed is that the Dell stopped being my only Linux machine. Buying this retired nothing. It added a second place to practice, one that stays set up.
Who This Is For
This is for someone who wants a Linux machine that stays on a desk and does not have to be rebuilt every session. It suits a person who is willing to be confused for a couple of weeks and come back anyway. It suits a learner who already has a monitor, a keyboard and a mouse, or who is ready to get them. And it suits someone like me, at 56, working full time, studying on Tuesday and Thursday evenings and Saturday mornings, who wanted the hardware question answered in one purchase so the attention could go to the learning.
It is also a reasonable first build for someone who has never put a computer together and wants to try, because the pieces are meant for each other and the mistakes are forgiving. My worst error was two screws in the wrong place. The board survived it, and so did I.
Who Should Skip It
Skip it if what you want is a cheap laptop. This is not one, and by the time you add a screen, a keyboard and a mouse you are describing a different purchase entirely. Skip it if you want a guided course with lessons and a person answering your questions. The box contains hardware and an operating system. The teaching is separate and you have to go find it. And skip it if being confused makes you quit, because the first week will confuse you, and no kit on the market fixes that.
Skip it, too, if you only want to browse the web and answer email from the couch. The Pi can do those things, but it is an awkward way to do them, and you will spend your evenings fighting the machine instead of using it. The people who get along with this kit are the ones who want to be inside the machine, not the ones who want a cheaper way to avoid it.
If you are going to be confused either way, be confused on a machine that stays set up
Mine has sat on the same desk since February 2025. The card came loaded, the power supply, fan and heat sink were in the box, and assembly took one evening. Everything after that was mine to learn, and that was the point.
Amazon Check Today's Price on Amazon →