
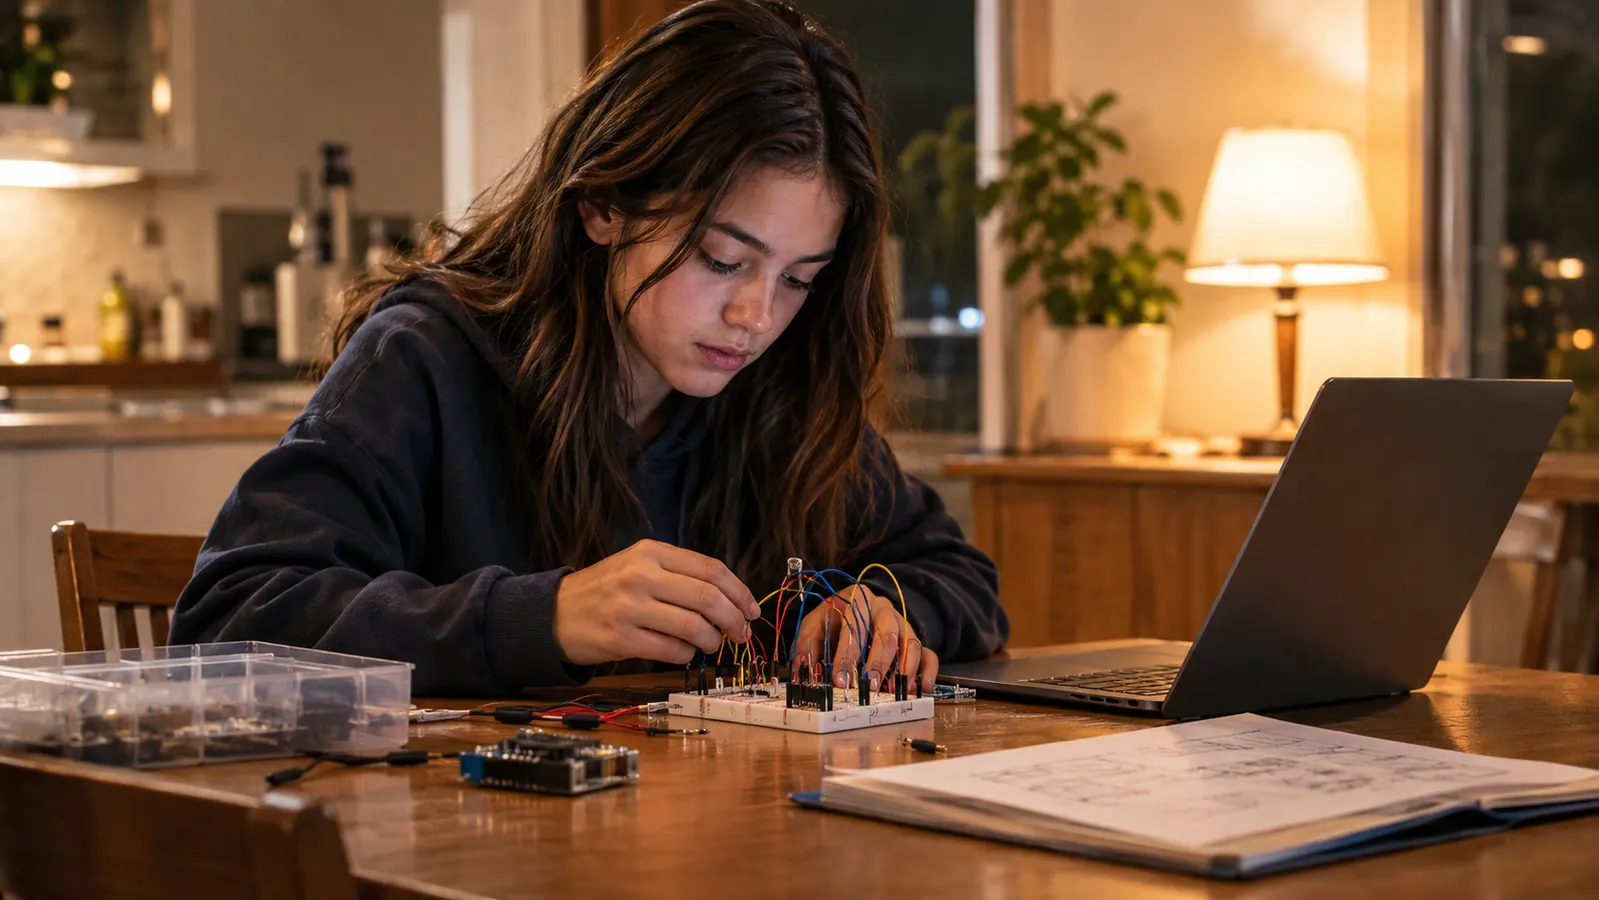
I bought the ELEGOO UNO R3 Super Starter Kit in September 2024 for one reason. I wanted to see what is physically happening inside a computer. I had spent twenty-two years as a hospital billing clerk and I was fifty-four years old, sitting in a department that had just moved to software I did not understand. A book can tell you what a circuit is. I wanted to hold one. The ELEGOO kit was the simplest entry point I could find, and my nephew Theo, who works as a network technician for a school district, said it was the one he would have picked for me.
This is the honest version, which means it is not the version with the bow on it. The ELEGOO kit did what I needed it to do. It also arrived with a few things nobody mentioned in the reviews I read before I ordered. One of those things cost me an LED on a Saturday morning in my third month. None of them cost me the board. I want to lay out both halves, the working half and the frustrating half, so you can decide with your eyes open, especially if you are past fifty and quietly convinced you will break something.
The Quick Verdict
A real, patient introduction to what a circuit does, as long as you accept that half the value is in the lessons and the other half is in the messes you make on the way.
Amazon Check Today's Price →The Kit I Would Hand to a Nervous Beginner
Twenty-two guided lessons, an UNO R3 controller, and no soldering iron required. It is what I used at fifty-four to finally understand what a resistor is doing.
Amazon Check Today's Price on Amazon →What Nobody Tells You Before You Open the Box
The first surprise is how small and light the box is. The listing says 1.2 pounds and 8.3 by 5.5 by 1.97 inches, and that is accurate. It sits on a shelf in the back room beside my printed study guide and it does not look like much. Everything inside is bagged or slotted into place, and the individual parts are tiny. If you are expecting something that feels like a piece of equipment, it does not. It feels like a drawer of small parts, because that is what it is, and the drawer of small parts is the whole point.
The second surprise is the numbers. The listing says the board runs at 16 MHz with 2 KB of RAM, and those figures are real, but they mean nothing to you until you have watched a program refuse to run because you used too much of that memory. Learning that 2 KB is not a misprint took me a while. My phone has more working memory than that in some compartment I have never opened. That is not a complaint. The limit is the lesson. You feel it in a way you cannot feel a diagram.
The third thing is that no soldering iron is needed, and I want to name that plainly because it was my biggest fear. The LCD1602 display in the kit arrives with its header already soldered on. I did not appreciate that until I read about people who bought displays without it and had to learn to solder before they could start lesson one. In twenty-six months of owning this kit I have never soldered a single joint, and I worked through the lessons without one.
How I've Actually Used It
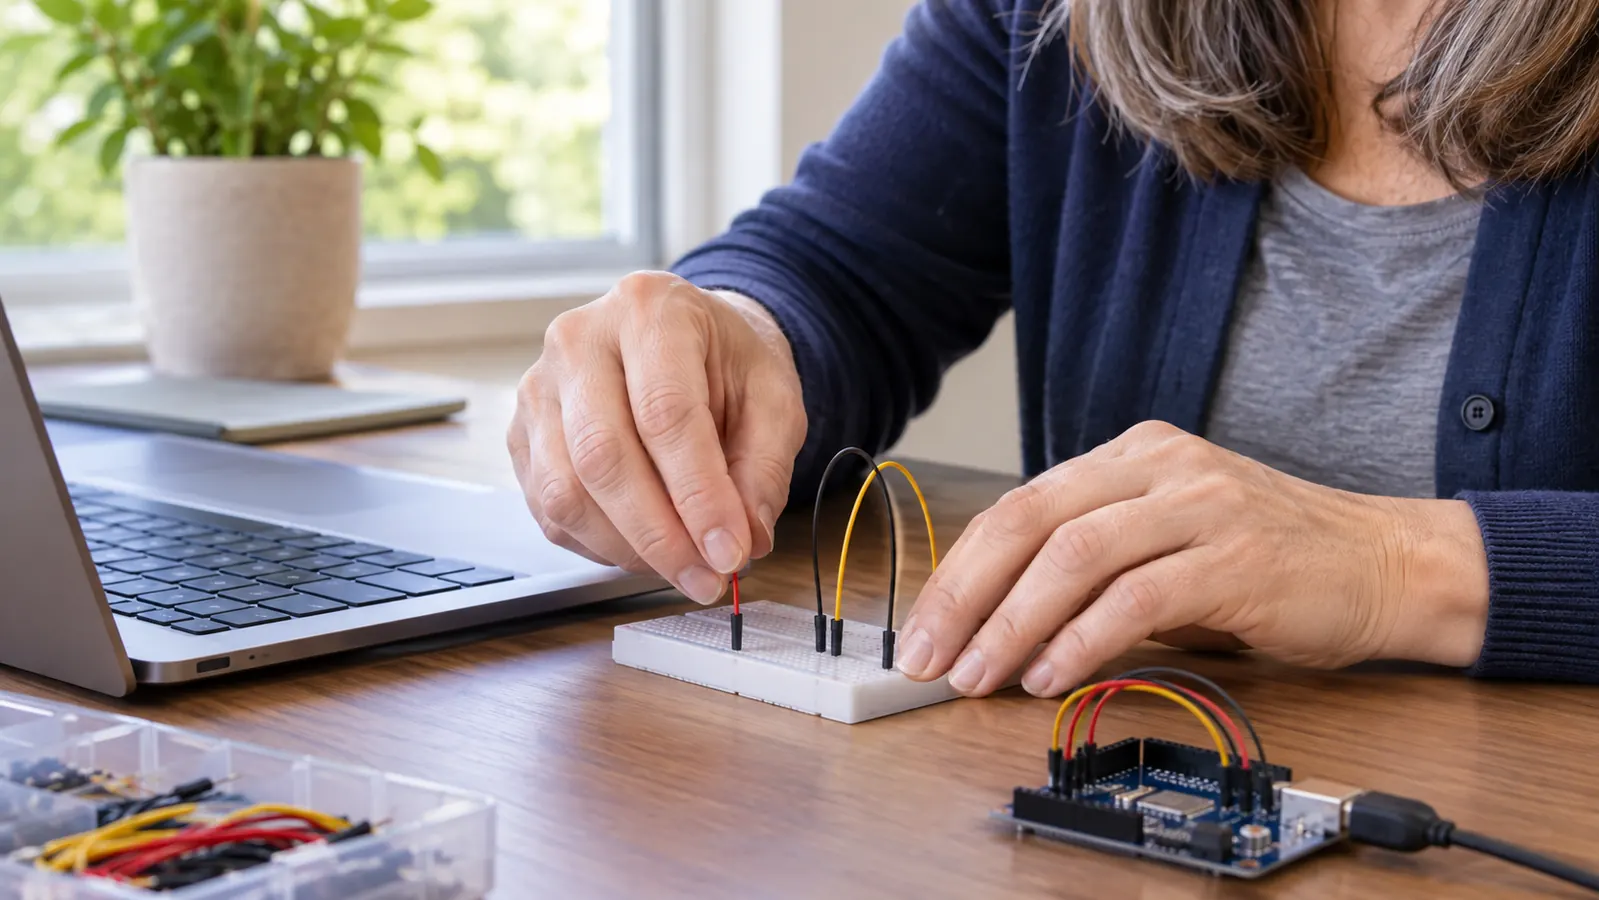
I work weekdays at the hospital, so my hands-on time was Saturday mornings, one lesson at a sitting. I started in September 2024 and worked through the last of the lessons in February 2025. Roughly five months, one Saturday a week, with gaps around the holidays. Tuesday and Thursday evenings from seven to nine I read. Saturday I built. That split matters more than I expected. Reading about a circuit is not the same as plugging one in and watching nothing happen, and the Saturday half is where the understanding actually landed.
The first evening I made an LED blink. It took about twenty minutes, including installing the Arduino IDE on the HP laptop and finding the right port in a menu. I want to be plain about how that felt. Nothing in twenty-two years of billing work had prepared me for the idea that typing words on a screen could make a small piece of plastic on the desk turn on and off. I called Walt in from the kitchen to look at it. He was not impressed. I was.
The board connects by USB, and USB is the only way it connects. The listing's only wireless entry is infrared, which is a line-of-sight matter between two parts sitting on the same desk, not a network. Nothing here talks to your phone or your router. For a beginner that is a feature and I will defend it. Nothing can be quietly broken by something upstairs in the hall closet. If a project fails, it failed because of what is in front of you, and that is a much easier thing to troubleshoot at nine at night.
It lives in its plastic box on the back room shelf, and I still get it out most Saturdays. Not for lessons now. Mostly for the temperature and distance pieces, which I use to explain a chapter to myself when the reading in my study guide is going badly. That is the honest measure of whether a beginner kit earned its shelf space. Do you still reach for it a year later. I do, and that is more than I can say for the treadmill.
What Is in the Box, and What Each Part Is For
At the center is the UNO R3 controller itself, made by Atmel, which is now part of Microchip. It is a small board with rows of sockets down both edges, a USB socket, and a separate power socket. You plug it into the laptop and it becomes something you can program. The processor runs at 16 MHz. The 2 KB of SRAM is the working space your program uses while it runs, and there is separate room for the program itself. I am not going to pretend I understood that difference in month one. I understood it in month three, and only because I ran out of room.
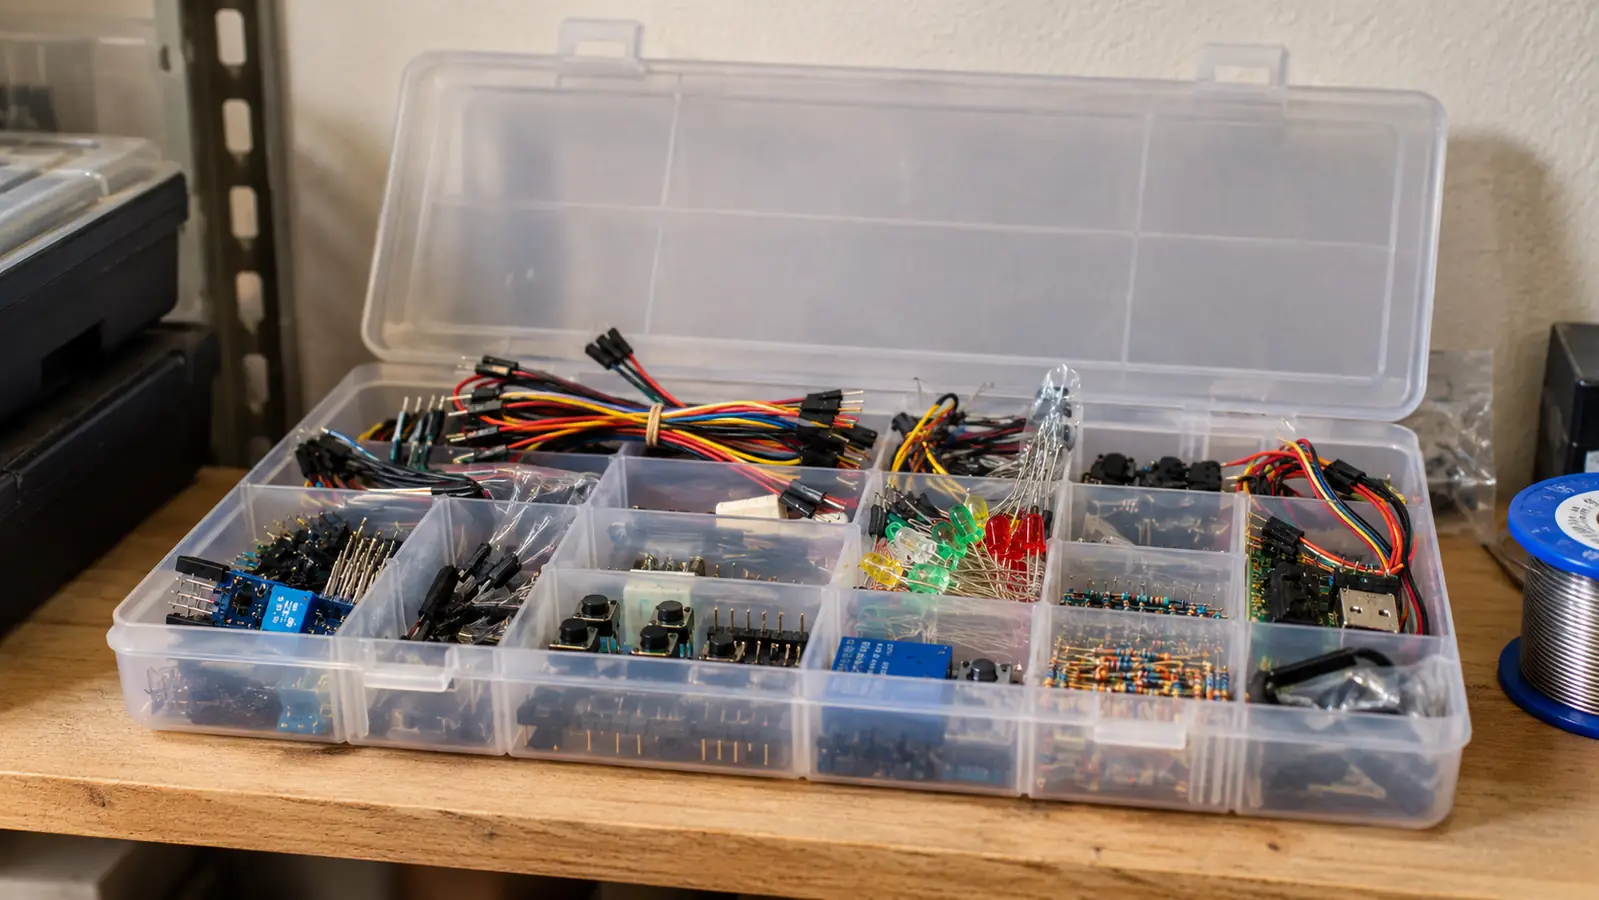
Around the board are the parts the lessons use. LEDs, resistors, a breadboard, jumper wires, a servo, a temperature sensor, a distance sensor, buttons, and the LCD1602 display with its header already attached. The listing also mentions a breadboard power module. The breadboard is the piece I would tell you to understand first, because it is not really a component at all. It is a way of connecting components without committing to anything. Everything pushes in. Nothing is permanent. You can be wrong eleven times in a row and pull it all out.
The tutorial ships as a PDF, not a printed book. I printed the sections I needed and kept them in a folder, because reading a wiring diagram off a laptop screen while both hands are full is miserable. If you like having paper, plan to print, or read each lesson once and then build with the screen pushed to one side. That second workflow is the one that saved me, and it is the one I would hand to anyone starting on a kitchen table.
The 22 Lessons, and Why They Are Not Equal
The listing advertises 22 or more guided lessons, and I consider that a fair count. They escalate. The early ones are one LED and one resistor, and you can finish them in fifteen minutes. The middle ones pair an input with an output, so a button makes something happen or a sensor decides what the display shows. The later ones string several parts together, and one of those took me two Saturdays, mostly because I had a wire one hole off and could not see it.
The quality is uneven in a way that is normal for a kit at this level. The lessons that explain why a resistor is in the circuit are good and I read them twice. The lessons that simply say to place it there are thinner, and I had to go and look up the reasoning myself. Theo's rule is that any kit tutorial teaches you the wiring and expects you to find the theory somewhere else, and this one mostly fits that rule. It is a starting point. It is not a course, and it never claims to be.
The example code is included and you are meant to read it, not just run it. The listing says the goal is understanding digital input and output, and that is exactly where my understanding landed. By the end I could look at a line that read a pin and know whether it was waiting for a signal or sending one. That sentence would have been gibberish to me in September 2024. It is not gibberish now, and I did not need a classroom to get there, just a box of parts and one morning a week.
Twenty-six months on, the board still works. The only thing I ever destroyed was one LED, and the mistake that killed it was mine.
The Mistake I Made in My Third Month
I skipped a resistor in an early lesson. Not on purpose. The diagram had one in line with the LED, and I decided, in my infinite beginner confidence, that it was probably optional. The LED came on very brightly for about two seconds and then it did not. The board was fine. The LED was dead and stayed dead, and I sat there for a minute working out whether I had ruined a kit I had owned for a few weeks and had barely started.
That is the honest shape of learning this at fifty-six. You will destroy something small. In my case it was one LED, and the lesson was worth more than the part. What I would tell you is that the controller itself is hard to kill through the USB port, the sacrificial pieces are the small cheap ones, and the resistor in the diagram is there for a reason that has nothing to do with ceremony. I have not skipped one since. I check the diagram twice now and I am slower than I was in October 2024, which is the correct direction.
The other thing nobody mentions is that the Arduino IDE is its own small skill. It is free, it installs in a few minutes on an ordinary Windows laptop, and then the first time a program refuses to upload because the wrong board is selected in a menu, you will feel stupid. Everyone does. It is a menu, not a verdict on your intelligence. I lost an entire Saturday morning to that menu and I would like to save you the morning.
What It Will Not Do
This kit will not make you employable. I want to be very clear about that, because I have read listings that hint at it and I have been the person hoping. What it did for me is make the inside of a computer less abstract. When my study guide talks about memory or a signal or a bus, I now have a physical thing to picture, and that picture is worth something real at the kitchen table on a Tuesday night. It is not a certification. It does not replace studying and it does not shorten the studying.
It also will not do anything wireless in the sense you probably mean. The listing's only wireless entry is infrared, so nothing here reaches your phone or your network the way a Wi-Fi board would. Everything happens within arm's reach, powered by the laptop through the USB cable. For a nervous beginner that is exactly right. For someone who wants to build a sensor that reports to a screen in another room, this is the wrong first purchase, and I would rather tell you that now than have you find out in month two.
The last thing it will not do is stay interesting on its own forever. The lessons end, in my case in February 2025, and after that you either start building your own small thing or the box goes on the shelf. Mine has not gone on the shelf, but that is because I found a use for it in my studying, not because the kit keeps handing out new ideas. It is a beginning. Beginnings are supposed to end. The question is whether what you learn in the five months sticks, and for me it did.
What I Liked
- 22 or more guided lessons that build in order, from one blinking LED to several parts working together
- No soldering needed, because the LCD1602 arrives with its header already attached
- Connects by USB and programs from the free Arduino IDE on an ordinary Windows laptop
- Ships as an organized kit in a box with compartments, so the small parts stay findable
- Still working after twenty-six months of Saturday morning use
Where It Falls Short
- The tutorial is a PDF, not a printed book, so you may want to print the sections you use
- Some lessons show the wiring without explaining why the part is there
- No Wi-Fi or network connection of any kind; the listing's only wireless entry is infrared
- The 2 KB of memory is a hard ceiling and you will hit it eventually
- Small parts are easy to burn if you skip a resistor, as I found out with one LED
Who This Is For
This is for the adult who feels behind and is tired of feeling behind. If you are the person at the kitchen table at nine at night reading a chapter twice and still not quite seeing it, this kit puts something in your hands that the chapter is describing. It suits a beginner with no background at all, because the lessons start at one LED and do not assume you know the vocabulary. It suits someone studying for a first certification who wants a physical reference for the abstract parts. And it suits the person who is scared of breaking things, because the breaking is small and survivable.
Who Should Skip It
Skip it if you want a finished gadget rather than an understanding. Skip it if what you actually want is a network-connected sensor, because this board does not do that and a Wi-Fi board would serve you better. Skip it if you will not read the example code, since half the value is in reading it. And skip it if you want a printed course with a spine, because what arrives is a PDF. None of those are faults in the kit. They are just mismatches, and a mismatch is the only purchase I have ever genuinely regretted.
Start With the LED That Blinks, Not the Theory
Twenty-two lessons, one Saturday morning at a time, no soldering, and a board that survived twenty-six months of my mistakes. That is the whole offer.
Amazon Check Today's Price on Amazon →