
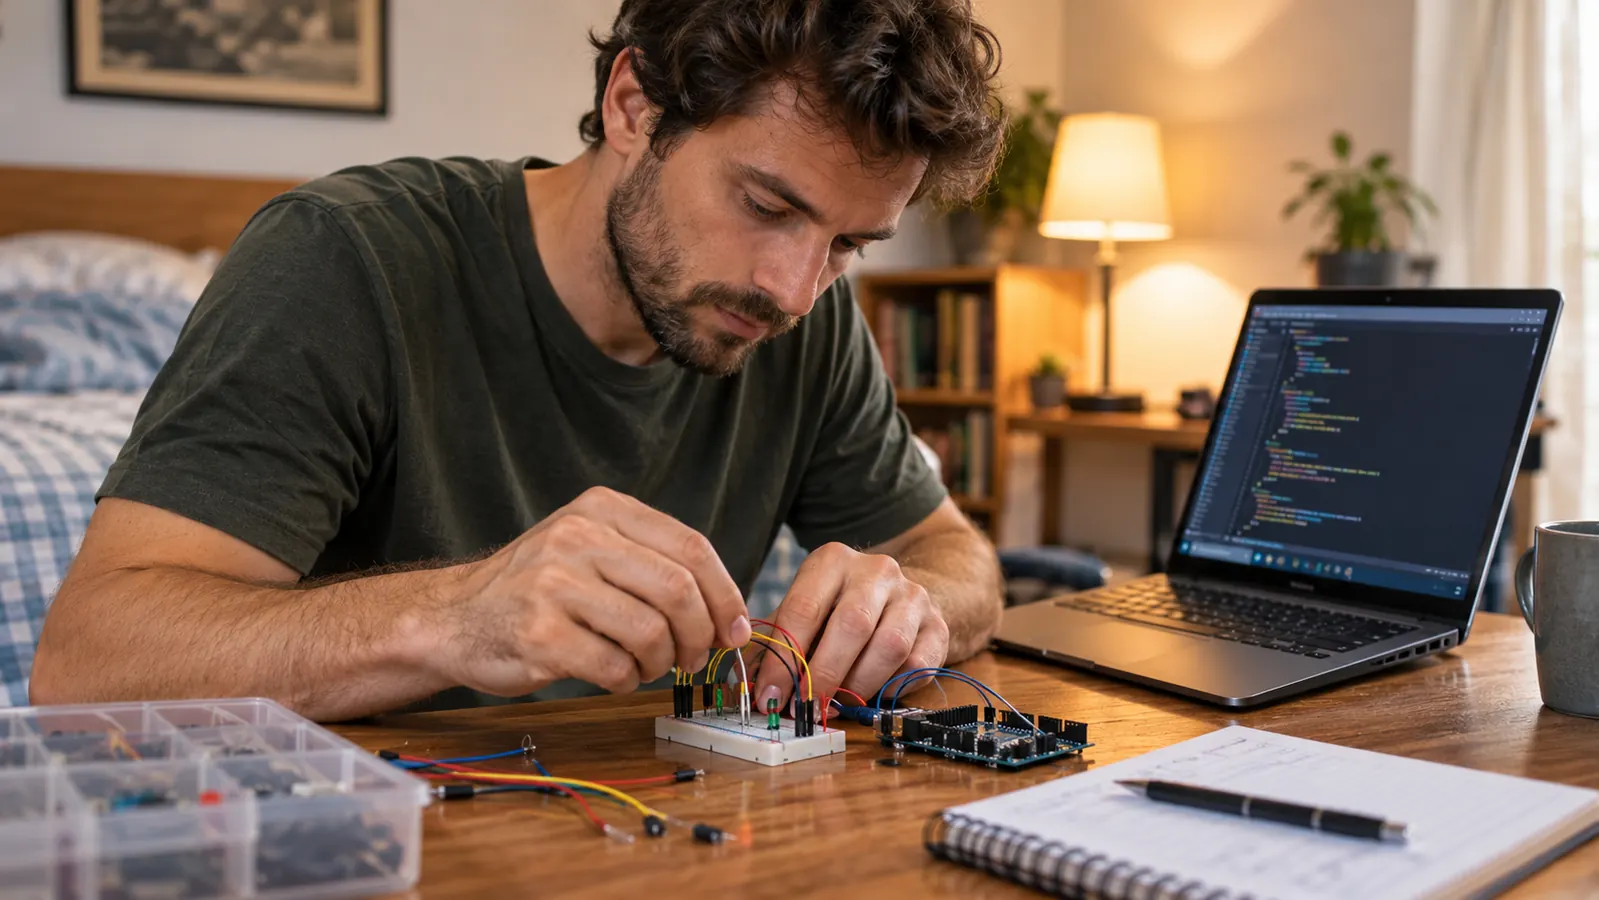
Three weeks into January 2024, the billing department where I have worked for twenty-four years moved to new software. Everyone around me seemed to pick it up. I sat at the kitchen table that Saturday with a printout of the login screen and could not tell you what any of it meant. I was fifty-four. I am fifty-six now, and I still work the same job at the same hospital, so please read nothing into this story about careers. What changed was smaller and more useful than that. Words like server, port and input stopped being a wall. The thing that moved them was not a book. It was a box of parts with a controller board in it, the ELEGOO UNO R3 Super Starter Kit, which I bought in September 2024.
I had already tried the reading route. Two chapters into a networking book I could repeat a definition and do nothing with it. What the ELEGOO kit gave me was a result I could see in the same evening: a light going on and off because of a line I typed. That is the whole argument for starting here. A beginner does not need more explanation. A beginner needs one small thing to work, then a slightly harder thing to work, and a way to tell when it did not. The kit is built around that order, with guided lessons and example code you can open and run.
The first lesson is a light that blinks. That is the point.
Twenty-two guided lessons, the controller board, a breadboard and the parts to run them. One USB cable to your laptop and the first one takes an evening.
Amazon Check Today's Price on Amazon →Step 1: Make one light blink before you read anything else
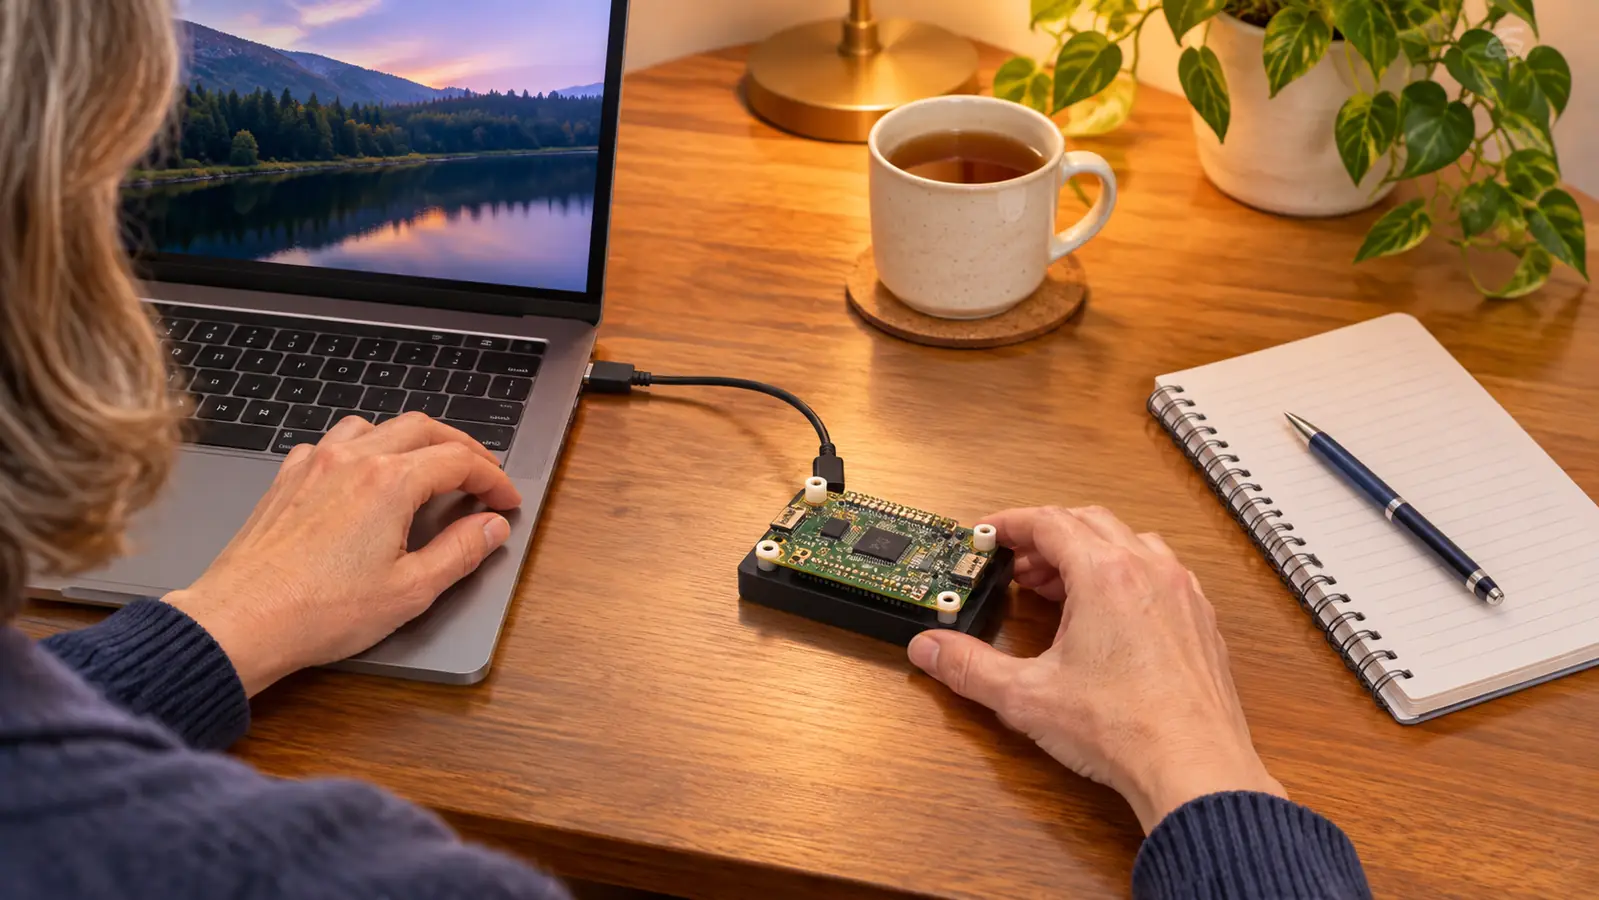
The first evening is not for understanding. It is for proving the thing works. You install the Arduino IDE on your laptop, plug the board in with the USB cable, open the first example, and send it. On my HP laptop the install took about twenty minutes and the board was recognized on the first try. The light blinked. I watched it for longer than I should admit.
The install itself is the least interesting part and the one that stops most people before they start. You download the Arduino IDE from the Arduino site, run the installer, and wait. Then you open a menu called Tools and pick two things: the board type, which is the UNO, and the port, which is whichever line appears when the board is plugged in and disappears when it is not. That trick, unplug it and watch which line vanishes, is the only troubleshooting step I have ever needed. It has saved me twice since.
Two numbers about that board are worth knowing on day one, because they explain a lot later. It runs at 16 MHz and it has 2 KB of RAM. Those numbers are tiny, and that is not a flaw to work around, it is part of the lesson. When your program holds too much at once, it stops fitting, and you learn what memory means because you ran out of it.
Skip nothing here. If the light does not blink, the problem is almost always the port or the board selection in the software, not your code. That has happened to me twice since, both times because I had the wrong port chosen.
Step 2: Learn the breadboard and the resistor habit
A breadboard is a plastic block with rows of holes, and the holes are connected underneath in a pattern you cannot see. The kit gives you one plus a power supply that clips onto it, so you can build a circuit without soldering anything. Nothing in this kit requires a soldering iron. That matters if you are like me and had never held one.
Set it in front of you with the row numbers facing up and the power supply clipped along the top edge. The two long rows down the outside are the power rails and the short rows in the middle are where parts go. A part's two legs belong in two different short rows. If both legs land in the same row, you have built a loop that goes nowhere and nothing happens. I did exactly that on my first attempt at the resistor lesson in October 2024 and spent twenty minutes convinced a part had arrived dead.
Here is what I got wrong. In an early lesson I left out a resistor because I could not see what it was doing. The light lasted about four seconds. It went dark and stayed dark, and no amount of re-seating brought it back. The board was fine. One part was dead and I had killed it. I put the resistor in the next time and it has not happened since.
That mistake taught me more than the lesson did. A resistor limits how much current moves through a part, and a light with no limit takes more than it can hold. It is the first real idea in electronics, and it costs one part to learn it. The kit comes with spares, which is the right decision for a beginner kit.
Step 3: Read something real, temperature and distance
Blinking is output. The next step is input, where the board reads the world and you read the number. The lesson set includes a part that reports room temperature and a part that reports how far away something is. I held my hand in front of the distance sensor and watched a number change on the screen, and that was the evening the whole subject stopped being abstract to me.
The first temperature I took was on a Saturday morning in late October 2024, at the desk in the back room, and it read a couple of degrees higher than the thermostat out in the hall. That is not a fault in the part. The board warms up slightly while it runs and the sensor is sitting close to it. Move the sensor a few inches away and the number drops back toward the hallway reading. Nobody tells you that in a definition, and it is exactly the kind of thing you only get by holding two numbers next to each other.
Both of these readings are awkward in the same useful way. The temperature drifts a little. The distance jumps if the surface is soft or at an angle. A book would tell you the readings are imperfect. The kit makes you stand there with your hand in the air, watching it be imperfect.
Write the numbers down in a notebook. I still have mine, with dates and readings, and one page where I was certain the sensor was broken and it turned out the wire was in the wrong row.
Step 4: Make something move, then put words on a screen
The kit includes a servo, which is a small motor that turns to a position you give it, and an LCD1602 display with the header already soldered on, so it pushes straight into the breadboard and works. This is the section where a project starts to look like a thing rather than an exercise.
The display is the more satisfying of the two, because it turns a number into a sentence. Once I could print a temperature reading with a word in front of it, I had something my husband Walt would actually look at. He is retired from the post office and not a technical person, and he read it over my shoulder and asked why it said what it said. Explaining that out loud was better practice than the lesson was.
Servo first if you want motion, display first if you want to show someone. Do both. They use the same skills in a different order.
Step 5: Break the example code on purpose
Every lesson ships with example code, and the second half of the learning is in changing it. Change a delay from two seconds to half a second. Change a number in a calculation and watch the display go wrong. Move one line above another and see what breaks. The board does not care, and nothing you do in the kit will damage your laptop.
The delay lesson is the one to start with, because the change is visible immediately. The example waits a set number of milliseconds between on and off. Two thousand milliseconds is two seconds. Cut it to five hundred and the light blinks four times as fast. Cut it to fifty and it is a flicker. Cut it to zero and it looks like it is simply on, because your eye cannot follow it any more. You have not learned a new command. You have learned that the number inside the parentheses is time, and that you are the one holding it.
This is where the Arduino IDE starts to make sense. Reading a program and guessing at its behavior is slow. Changing one line and watching the result is fast. The listing calls this understanding digital input and output, which sounds like a syllabus item and is really just the habit of change it, run it, look.
The PDF tutorial is the spine of the whole thing. I worked the lessons in order, one Saturday morning at a time, and stopped in February 2025. Nobody needs five months. I am slow and I took notes.
How Long It Actually Took Me
I bought the ELEGOO kit in September 2024 and finished the guided lessons in February 2025. Five months, at two or three hours a week, mostly Saturday mornings with some Tuesday and Thursday evenings in between. If you sat down for a rainy weekend you would move faster, and if you work full time at a hospital front desk like me you will move slower. The pace is not the point. The point is that the box stayed open on the desk in the back room instead of getting shut away in a closet after the second week.
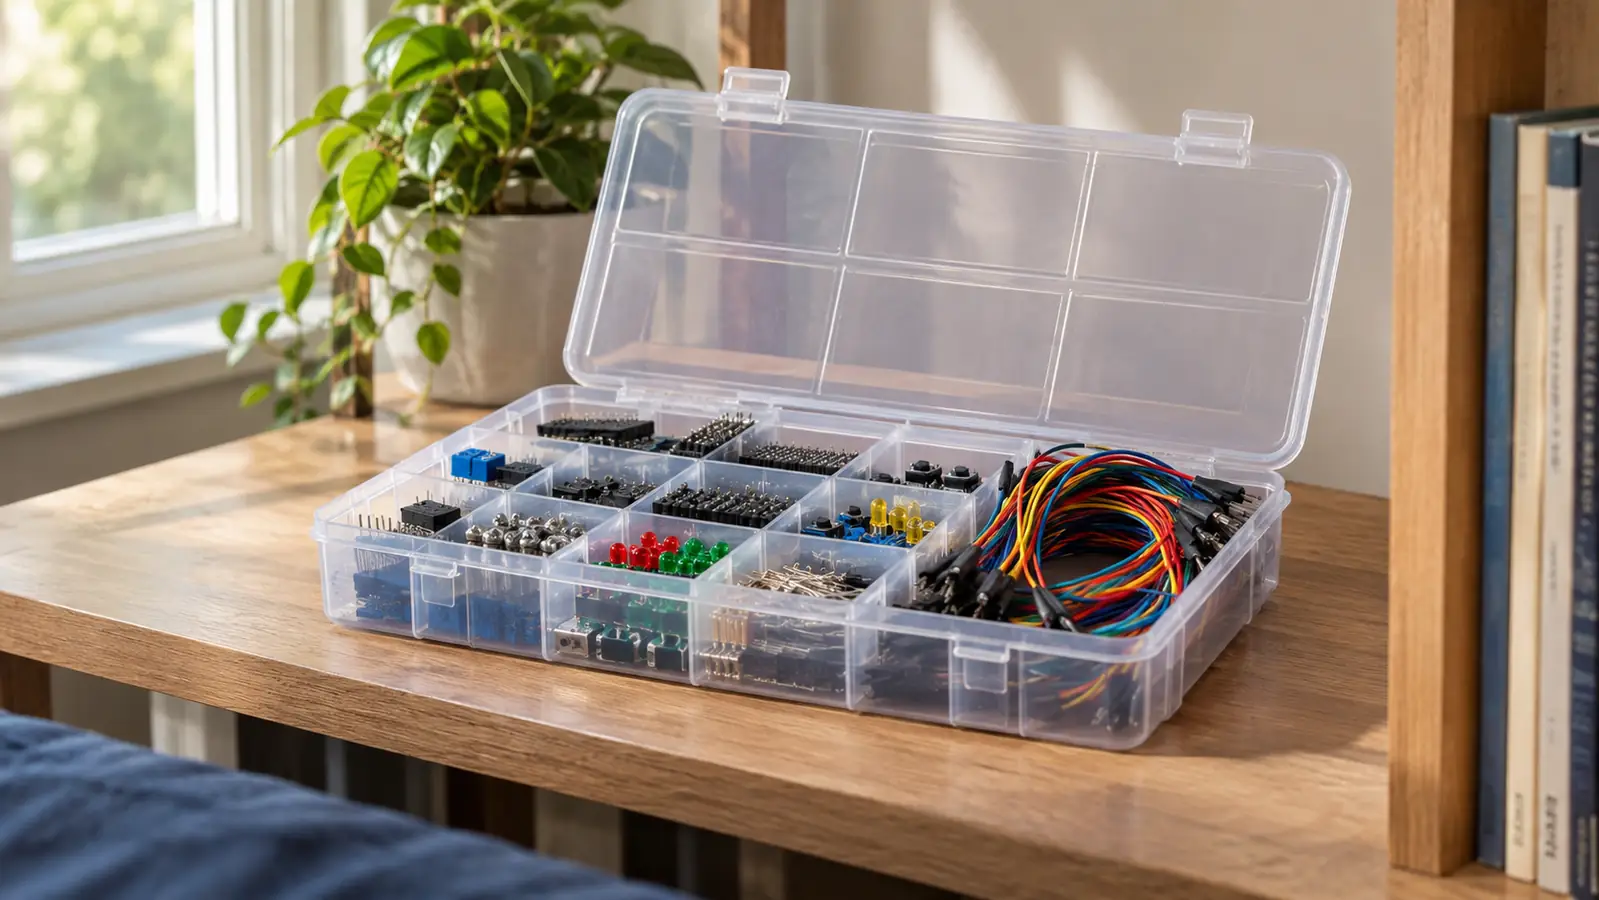
I finished with one dead light, no damage to the board, and no soldering. I never used the one year manufacturer warranty and never needed it. The whole kit weighs about 1.2 pounds and the box measures roughly 8.3 by 5.5 by 1.97 inches, so it takes a shelf and not a workbench. Mine lives in its plastic box on the back room shelf and has since the week I finished.
I burned out one part in five months of lessons, and the board survived every mistake I made, including that one.
What Else Helps
Nothing else in the box. That is the first thing I would tell you. The kit already has the controller, the breadboard, the breadboard power supply, the display, the servo and the parts for every lesson. Buying a second sensor pack before you finish the first five lessons mostly builds a drawer of things you cannot identify.
A paper notebook helps more than it should. I write the date, what I built, and what went wrong. When a lesson failed in November I could look back at October and see that I had already solved the same problem by moving a wire one row over.
The other thing that helps is a person who will listen without taking over. My nephew Theo is a network technician and he is the reason I bought any of this, but the useful part was never him fixing things. It was me describing the problem out loud until I heard the answer myself. If you do not have a Theo, say it out loud to a wall. It works about as well.
I did later buy a Raspberry Pi kit, because I wanted a Linux machine that stayed set up instead of one I booted from a USB drive. It did not replace these lessons and it does not teach the same thing. The board and the parts are what teach you what a wire is doing.
Start with the lesson that makes a light blink tonight
The board, the breadboard, the parts and the guided lessons come in the same box. One USB cable to your laptop and the first one takes an evening.
Amazon Check Today's Price on Amazon →