
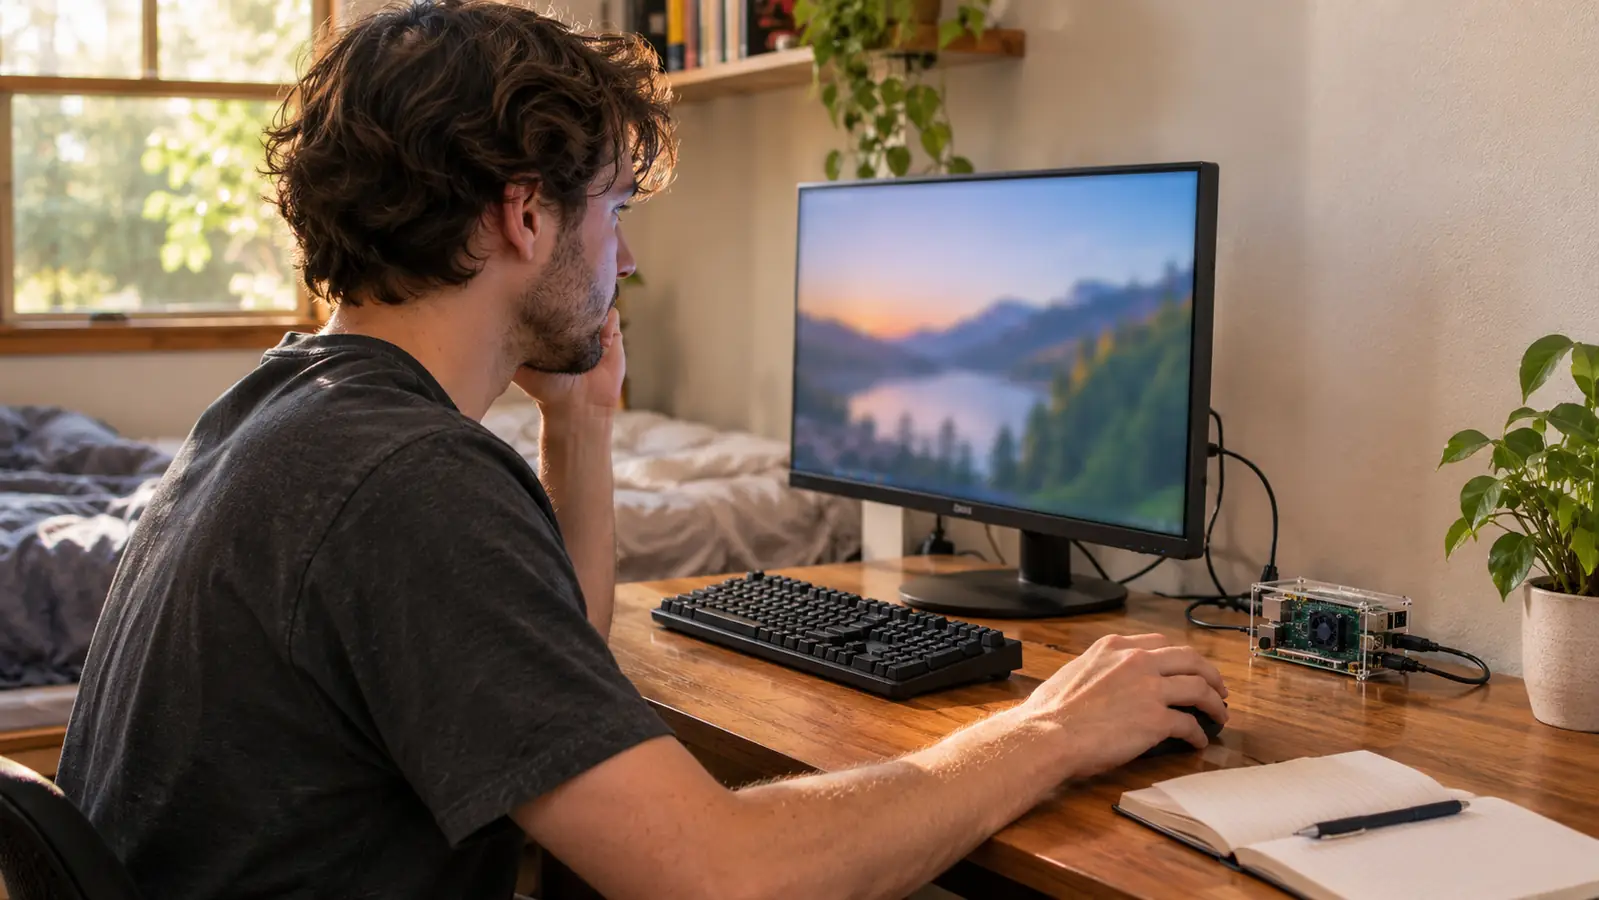
In January 2024 my hospital billing department moved to new software, and I could not make it do what the old screens did. I had been a billing clerk for twenty-one years by then. That was the week I decided to learn how computers actually work, at fifty-four, with a full-time job and two evenings a week to spare. The first thing that frightened me was the terminal. A plain window, a blinking cursor, no buttons, no menus. I opened it and closed it eleven times before I typed a single character into it. If that sounds like you, this is the article I wish someone had handed me in the spring of 2024.
What changed things was buying the CanaKit Raspberry Pi 5 Starter Kit PRO in February 2025. Before that I practiced on a used Dell Latitude, and every session began with plugging in a USB drive and hoping the machine would boot from it. The CanaKit kit is a small computer that stays set up on the desk in my back room. I turn it on, I practice, I shut it down. That sounds like a small thing. It is not. Half of learning anything is showing up, and anything that adds four minutes of setup before every session is a reason not to show up. Here is the order I did things in, including the parts I got wrong.
Buy the machine once, then stop rebuilding it every Tuesday night
The kit arrives with the Raspberry Pi 5 board, the CanaKit case, a low noise bearing system fan, a heat sink, a 45W PD power supply, a 128GB micro SD card already loaded with the 64-bit Raspberry Pi OS, a USB MicroSD card reader, and two six-foot display cables. The 8GB version is the one I use and the one in this listing.
Amazon Check Today's Price on Amazon →What You Need Before You Start
The box covers more than I expected. Mine came with the Raspberry Pi 5 board with 8GB of RAM and a 2.4GHz 64-bit quad-core processor, the CanaKit case, the low noise bearing system fan, the heat sink, a CanaKit 45W PD power supply, a 128GB micro SD card already loaded with the 64-bit Raspberry Pi OS, a USB MicroSD card reader, and two six-foot display cables. It also has USB ports and a GPIO header, which I will get to in Step 4, and Bluetooth.
What it does not come with: a monitor, a keyboard, a mouse. My nephew Theo, who is a network technician at a school district and the one person I ask about anything technical, gave me a 22-inch monitor and a wired keyboard and mouse he was not using. The wired part matters. A keyboard that pairs over Bluetooth has to be set up before you have a working screen, and on your first evening you do not want to be troubleshooting a keyboard. Mine plug into the USB ports and simply work. Plan for those three things if you do not already have them. Also buy a paper notebook. Not a file on the computer. Paper, because when the machine misbehaves you will want to read your own handwriting from last week.
Step 1: Assemble It in One Sitting and Boot From the Card in the Box
I set aside a Thursday evening in February 2025 and it took about forty minutes, start to finish, with the printed sheet the kit came with. The board goes into the CanaKit case, the heat sink goes on the processor, the fan goes where the case holds it, the 128GB card goes into the slot on the board, and the 45W power supply goes into the wall. The sheet shows you where each piece sits, so there is no guesswork. I wore the anti-static wristband from my tool kit the whole time, out of habit more than need.
Then the part I was dreading: turning it on. It booted on the first try from the card that came in the box, straight into the Raspberry Pi OS setup screens, and asked me to pick a language, a time zone and a password. I sat there for a second waiting for something to go wrong. Nothing did. The operating system is Linux, which means the thing in front of you is the same family of software running most of the servers in the building where I work.
Write the password in the notebook. Actually write it, because there is no reset link in your email on this machine. Then shut it down properly the first night, from the menu, and watch what it does on the way down. That is your first lesson and it costs nothing: a computer is not a magic box, it is a list of steps, and you just did all of them in order without breaking anything.
Step 2: Learn Four Commands That Take the Fear Out of the Terminal
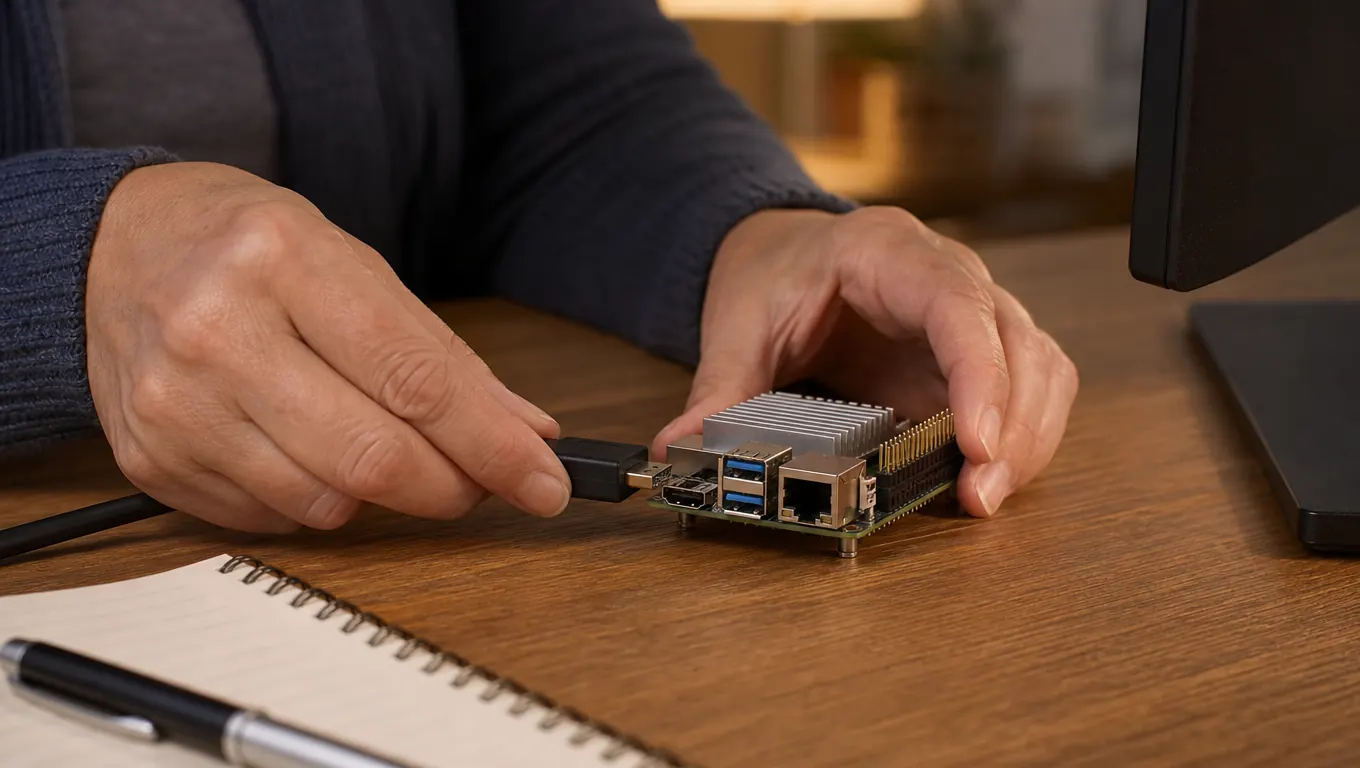
You do not need to memorize a list of forty commands. You need four, used until your hands know them. pwd tells you where you are. ls lists what is in the folder you are standing in. cd moves you somewhere else. man opens the manual page for anything, so when someone mentions a command name you can read about it yourself instead of asking. That last one is the one that made me feel less dependent on Theo.
My first evening I typed pwd, got back a line that meant nothing to me, and felt stupid. Then I typed ls and saw folders named Desktop and Documents, and something clicked. The terminal is not a different computer. It is the same folders with the pictures taken off. Once I understood that, the black window stopped being frightening and started being faster than clicking.
Here is the discipline that made it stick. I practice Tuesday and Thursday evenings from seven to nine, plus Saturday mornings. Not daily. I stopped feeling guilty about that. The first ten minutes of every session are the four commands I already know, typed from memory with no notes. Then I try one new thing. Two evenings a week for five months beats one heroic weekend, and I say that as someone who tried the heroic weekend first and got nowhere.
Step 3: Make Files, Then Break the Permissions on Purpose
This is the step that made Linux make sense to me, and it is the one I would keep if I could only keep one. Every file on a Linux machine has an owner and a set of permissions attached to it: read, write, execute. You see them by listing a folder in long form and reading the letters down the left side of each line. Three groups of three. What the owner can do, what the group can do, what everyone else can do.
So I practiced on purpose. I made a folder, made a file inside it, took my own permission to read that file away, and tried to open it. The machine said no. Then I gave it back and opened it. Then I did the same with a small script: I wrote it, tried to run it, and got told it was not executable. I had to work out why. I locked myself out of a folder exactly once and had to think my way back in, and that hour taught me more than the two months of reading before it.
This is also where the kit's design helps. My Dell got shut down and put away after every session, so a half-finished permissions experiment had to be rebuilt the next time, and sometimes I could not remember what I had done. The CanaKit machine stays on the desk with the file exactly where I left it. If you are studying for something like the A+, this is the part a book cannot give you. You can read the word permission forty times. You learn it by being told no by a machine you are allowed to break.
Forty minutes to build, first boot from the card that came in the box, and I have not had to rebuild it since.
Step 4: Learn What Every Port on the Board Is For
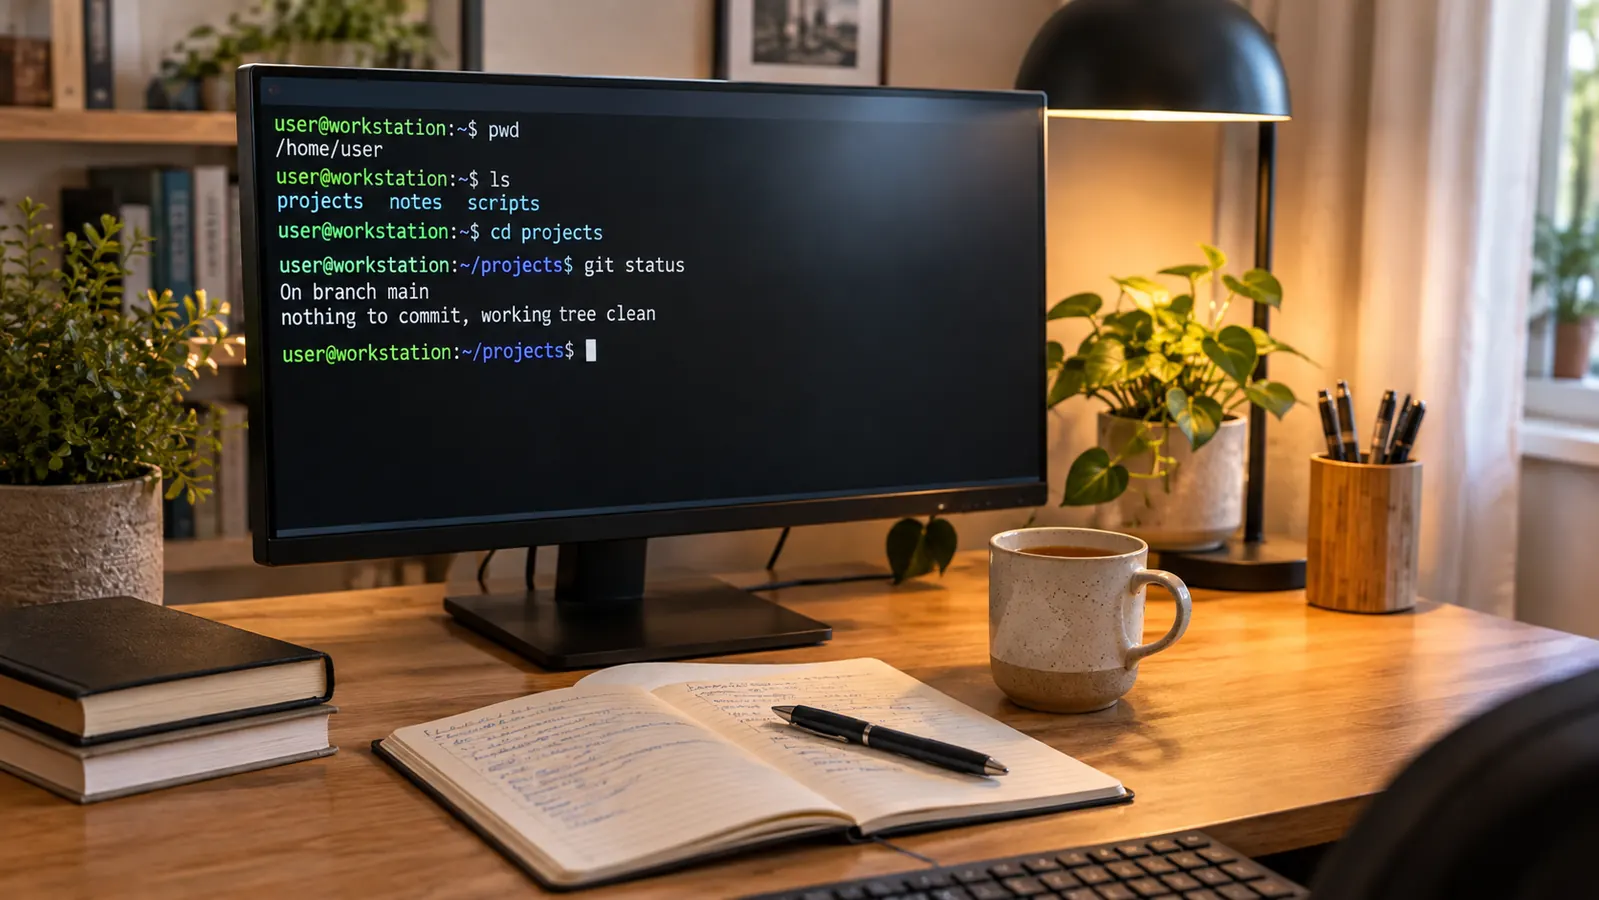
The board has USB ports and a GPIO header, and both mattered to me for different reasons. USB is the one you already understand: keyboard, mouse, and the little card reader that came in the kit, which I used to look at the 128GB card from my HP laptop without taking anything apart. The two six-foot display cables in the box connect the board to the monitor. One cable, one screen, and you are looking at your Linux machine instead of reading about one.
The GPIO header is the row of pins along the edge of the board, and it is the reason I stopped being mystified by what goes on inside a computer. I had spent five months in 2024 working through an electronics starter kit, making an LED blink, and the header here is the same idea in a different shape. Pins that send a signal out, pins that read a signal in. If you have never touched a breadboard, ignore the header for now and come back to it. If you have, you will recognize it in about four seconds.
One practical habit: I made a small card and taped it inside the case lid listing what I had plugged in where. Two USB devices, the display cable, the power. When something stops working, and something will, I check that card before I check anything else. Nine times out of ten the answer is a cable I moved and forgot about.
Step 5: Write One Small Script and Keep a Written Log
A script is a list of commands in a file that you run all at once. Mine was six lines long. It made a folder, made a file inside it, wrote the date into the file, and printed a line on screen to tell me it had finished. I wrote it in a text editor, saved it, made it executable, and ran it. It failed the first time because I had not made it executable, and I fixed that in about a minute, but only because Step 3 had already taught me what that error meant.
The log is the part nobody mentions. I keep a paper notebook at the kitchen table. Every session gets a date, what I tried, what the error said, and what fixed it. Not a summary. The actual error text, copied by hand. When I sat Core 1 of the A+ in February 2026 and did not pass it, and then passed it on the second try in May 2026, the notebook was what I went back to. I am studying for Core 2 now and I have not sat it. I am not going to tell you a kit gets anyone through an exam. I will tell you that a machine which stays set up, plus a written log, is how I stopped losing the same week's work over and over.
Then keep the scripts small and boring. I have never overclocked mine and I do not intend to. The point of the machine is not to be impressive to anybody. The point is that at nine on a Thursday night, with a billing job waiting in the morning, I can sit down, type something, and have it work.
What Else Helps
Three things beyond the kit, in the order I bought them. First, a proper small tool set. I bought an iFixit kit in March 2024, right after I stripped a screw on the Dell with my husband Walt's old screwdriver, and it is still the first thing I reach for. Second, a USB drive you can make bootable, in case you ever want to run Linux on a second machine. Mine is a SanDisk Ultra Dual Drive Go, 128GB, bought June 2024, and it lives in a dish on the desk. Third, if you reach the networking part of your studying, a cable tester earns its place faster than another book. I bought a Klein Tools Scout Pro 3 in October 2025. That month Walt and Theo ran one Ethernet cable through the attic from the hall closet to the back room, and the tester reads that run at forty-six feet. I also test a box of ten patch cables Theo handed me, and one of the ten failed. It went in the trash. None of that is required to learn Linux. All of it kept me from quitting.
And one more thing that is not for sale: a person you can ask. Mine is Theo. The rule I follow is that I try for thirty minutes before I ask him anything. About half the time I answer my own question somewhere around minute twenty-five, usually because writing it down in the notebook forced me to say what was actually wrong. The other half, I have something specific to ask, which means I get something specific back instead of a lecture I will not remember.
The computer still on the desk 21 months later is the one that taught me Linux
The CanaKit Raspberry Pi 5 Starter Kit PRO is the 8GB board with a 128GB card already loaded with the operating system, a case, a fan, a heat sink and a 45W power supply. Mine has sat on the back room desk since February 2025, shut down after each session, never overclocked. If your problem is that practice keeps getting interrupted by setup, this is the fix I found.
Amazon Check Today's Price on Amazon →