
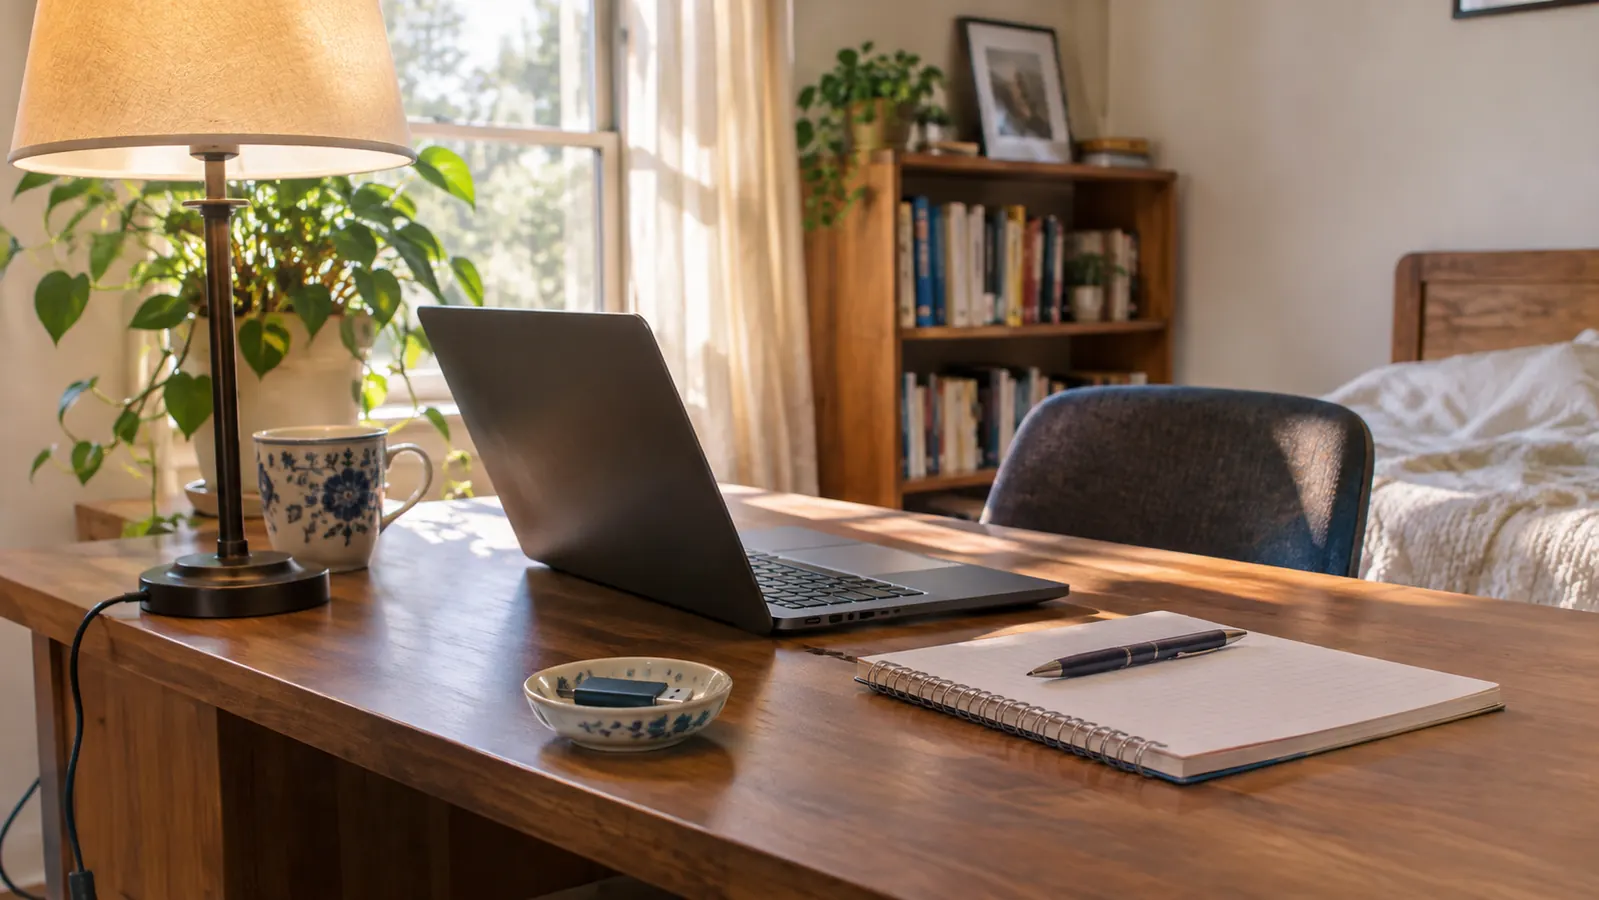
Every guide to learning hands-on tech says the same thing. Practice on real hardware. So you look at the one computer you own, the one holding the tax returns and the photos from your niece's wedding, and you decide you would rather keep reading about it than touch it. That was me in February 2024. My billing department had just moved to new software and I felt like the last person in the building who understood it, so I bought a used Dell Latitude to be my practice machine. Then it sat on the desk in the back room for two weeks, closed, because I was afraid to start it.
The advice I got was four words long. Make a bootable USB. Those four words assume you already know three things: what an image file is, what a program called Rufus does with one, and where the boot order hides on a machine you have never opened. In June 2024 I knew none of the three. That is the month I bought the SANDISK 128GB Ultra Dual Drive Go, on my nephew Theo's suggestion, and spent a Saturday morning learning what those four words actually mean. What follows is that Saturday, in order, including the part where the first boot failed and I blamed the drive for something I had done.
The drive that plugs into the old laptop and into my phone
The SANDISK Ultra Dual Drive Go carries a USB-C connector and a USB-A connector on the same body, so the stick I booted my practice machine from is also the stick my notes live on. 128 GB, up to 400 MB/s read speed, five year limited manufacturer warranty. Today's price is on the listing.
Amazon Check Today's Price on Amazon →Before Step One: What Has to Be on the Desk
You need four things and only one of them costs anything. A computer you are willing to experiment on, which for me is the Dell. A computer you are not willing to experiment on, which is my everyday HP laptop, because that is where the downloads happen. The drive itself. And a notebook, paper, not a note on your phone. Writing a step down by hand is how I stopped needing to look it up, and it is also how I worked out that my first failed boot was my own fault and not the drive's.
A word about capacity, since 128 GB sounds like more than you need and it is. An image file for a desktop version of Linux usually runs somewhere between two and four gigabytes. That leaves most of the drive empty. On mine the leftover space sat unused for a few weeks until I formatted it and made a folder for study notes. The drive booted exactly the same way afterward, which is how I learned that the empty part of a drive and the bootable part are two different things wearing the same coat.
Step 1: Decide What the Practice Machine Is For
The Dell came to me with Windows already on it and I did not want to lose that. Here is the thing nobody explained to me, and I will say it plainly: when a computer starts from a USB drive, it is running the operating system on that drive, not the one on the drive inside it. Nothing on the Dell gets read, nothing gets written, nothing is erased. The machine does not change until you deliberately choose an install option, and you can go months without choosing one. I have never chosen one.
Pick one version of Linux and stop shopping. Theo said Linux Mint, so Linux Mint is what I used, and I have no opinion about whether it is the best one. The skill you are building in this step is not comparison shopping. It is finishing. A person who has booted one distribution knows more than a person who has read about twelve of them, and that person can try a second one next month with the same stick.
Write down what you want out of the session before you start it. Mine was small. I wanted to see the terminal, type two commands, and stop being frightened of a black screen. Yours might be to see whether an old machine feels faster, or to look at a file manager that is not the one you use at work. Both are real goals. The first time, I only looked around and shut it down.
Step 2: Download the Two Files on the Computer You Are Not Practicing On
The two files are the image and the writing tool. The image comes from the website of whichever Linux you picked, and its file name ends in .iso. Think of an ISO as a whole folder of files pressed into one file, the way a whole disc used to be pressed into one disc. Your computer cannot do anything useful with it sitting there on its own.
That is what Rufus is for. Rufus is a small free program for Windows that takes an ISO and lays its contents onto a USB drive in the exact arrangement a computer looks for at startup. It does no magic and it does not need installing. You download it, you run it, and a window opens with a few dropdowns. Download it on the everyday machine, the one you are not practicing on, and put it in the same folder as the ISO so you can find both on a Saturday morning when you are already nervous.
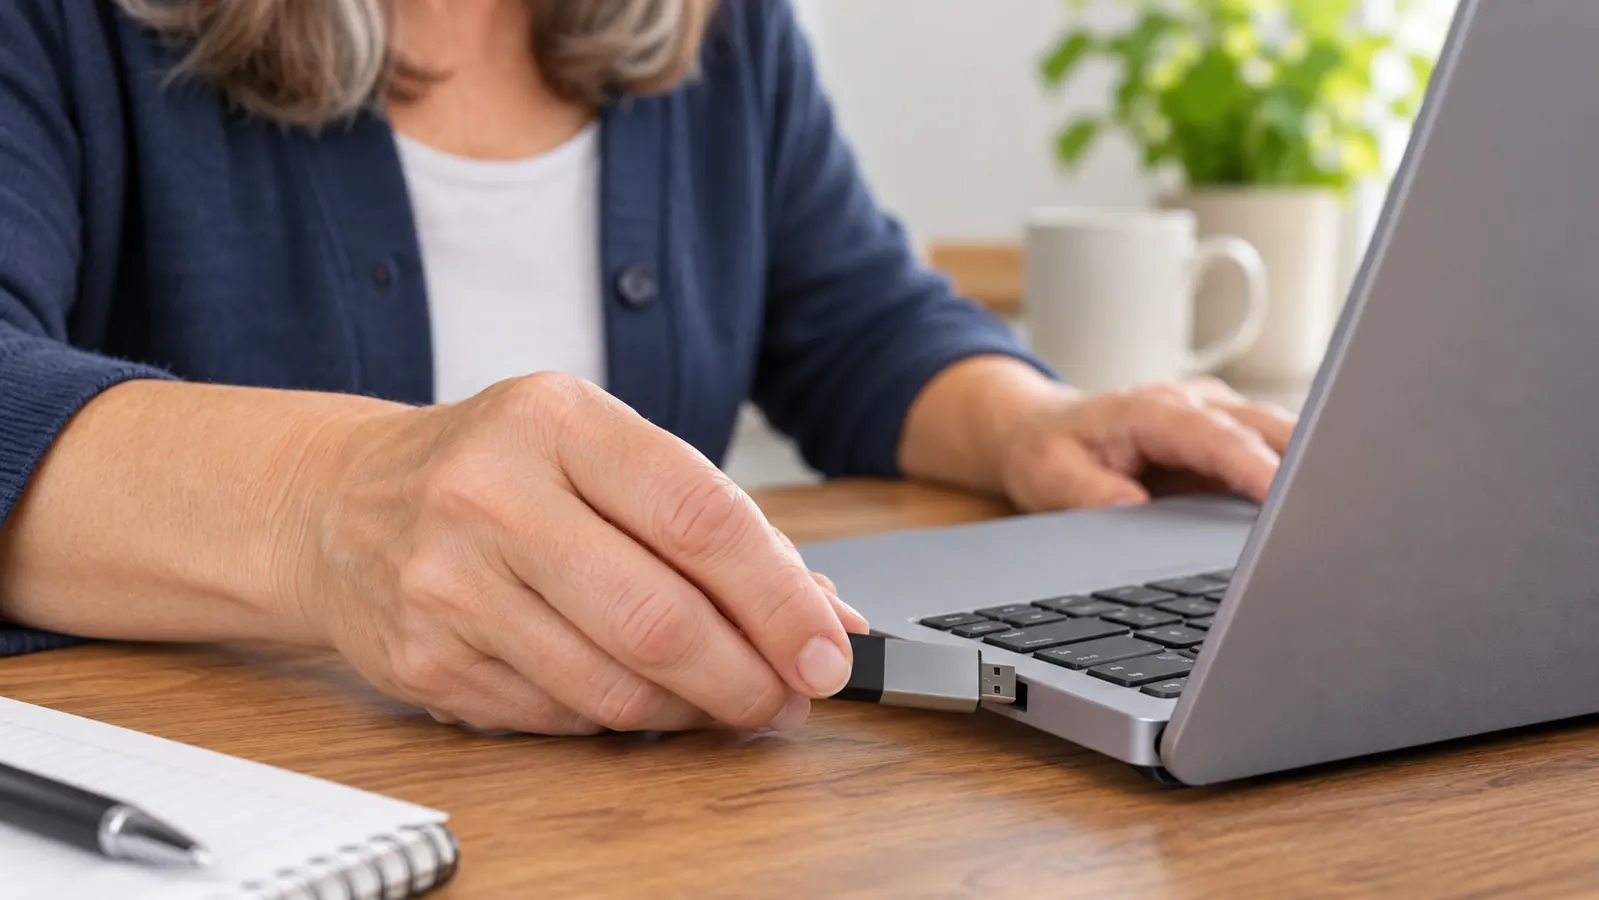
Ports are worth a sentence here, because they are the reason I picked this drive. My HP laptop has the ordinary rectangular USB-A ports. My phone takes USB-C. The SANDISK drive has one of each, at opposite ends of the same body, so it does not matter which machine I sit down at. When I wrote the Linux image I used the USB-A end in the HP. Since then the same drive has done nothing but carry notes back and forth, and the connector question has never come up again.
Step 3: Write the Image to the Drive With Rufus
Plug the drive in. Open Rufus. The top of the window lists devices, and the first thing to do is read that line out loud. It should say the name and the size of the drive you are holding in your hand. If it names anything else, stop. This is the failure worth naming before it happens, because the next step erases whichever device is listed, completely, with no recycle bin and no undo.
Point the boot selection dropdown at the ISO you downloaded, leave the rest of the settings alone, and press start. Rufus will tell you that all data on the device will be destroyed. That is not a figure of speech and it is not a warning they add to frighten you. It means what it says. Confirm it, then leave the machine alone. On mine the write took several minutes with a progress bar the whole way. Pulling the drive out halfway through is how people end up with a stick that boots on no machine at all.
When it finishes, Rufus says ready and the drive looks almost empty in your file explorer for the size of the thing. That is normal. The image takes only what the image needs. I formatted the leftover space later and made a notes folder in it, and the drive went on booting exactly as before. That folder is the reason the drive lives in a dish on my desk instead of a drawer, because I use it on Tuesdays and Thursdays whether I am booting anything or not.
Step 4: Change the Boot Order on the Practice Machine
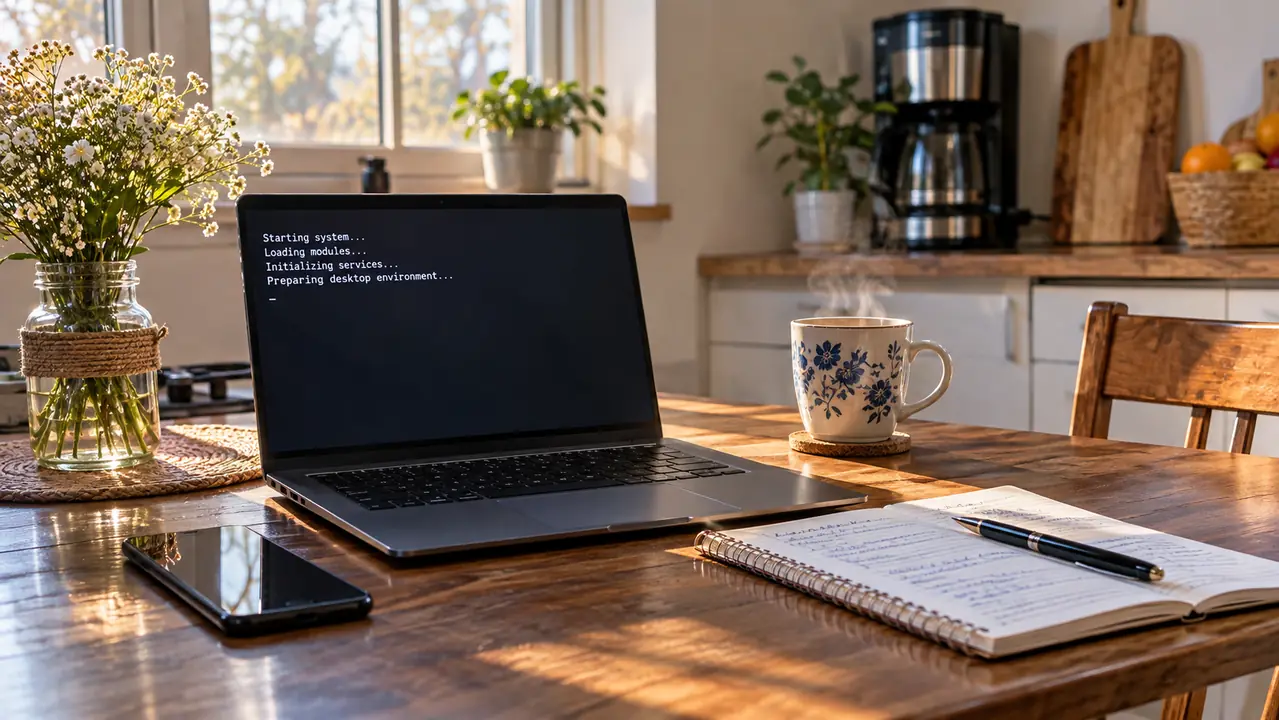
This is the step where I failed. I wrote the stick on a Saturday morning, plugged it into the Dell, turned the Dell on, and watched it start Windows exactly as it always had. I assumed the write had gone wrong. It had not. The Dell had simply never been told to look at the USB drive first, and it was never going to guess.
Every computer checks its drives in a fixed order, and usually the drive inside it comes first. To change that, you have to get into the machine's setup screen during the few seconds between pressing the power button and Windows appearing. On my Dell that means tapping F2 over and over right after the power button, and on other machines it is often F10 or Delete. Do not hold the key down. Tap it, the way you would tap a door you are not sure is locked. The first screen that appears almost always prints the correct key in one corner.
In the setup screen, find the boot section and move the USB entry above the internal drive. Save and exit, and the machine restarts. Some machines offer a simpler route, a one-time boot menu on a different key, F12 on mine, which lets you pick the USB for this startup only without changing anything permanent. If I were starting over I would try the one-time menu first. It is one keypress instead of a menu of settings, and it cannot leave the machine in a state you have to remember to undo.
The drive was never the problem. The Dell was doing exactly what it had been told to do, which was look at its own disk first. Two minutes in a menu I had never opened was the whole difference.
Step 5: Boot It, Look Around, and Shut Down Properly
With the stick in place and the boot order fixed, the machine starts from the drive. You will see text scroll past that means nothing to you, then a logo, then a desktop that is not Windows. It takes longer than starting Windows does, because everything is coming off a USB connector instead of an internal drive. Mine took a couple of minutes the first time and I sat there the whole while expecting it to stop.
Nothing has been installed. Open the file manager, open a terminal if you are feeling brave, click around, and then find the shutdown option in the menu and use it. Do not hold the power button down to end the session. The machine is running an operating system that expects to be closed properly, the same way Windows does, and cutting it off is how you get a message on the next start that makes your stomach drop. Once it has shut down, unplug the drive.
The last thing I would tell you is to write the steps down in the notebook while the machine is still on the desk. The keys, the menu names, the order of the entries. Six weeks later I could not have told you any of it and I had to go back into the setup screen on the Dell to look. It is now the third page of a notebook I still keep, and I have read that page more often than I have read most of a study guide.
What Else Helps
A bootable stick is a tool, not a course. What it gave me was a machine I could break without consequences, and that let me stop treating every click as a risk. The rest of my studying happens Tuesday and Thursday evenings from seven to nine, plus Saturday mornings, with one printed study guide whose margins are now full. I failed the first exam of the CompTIA A+, Core 1, in February 2026, and passed it on the second try in May 2026. I am on Core 2 now. No USB drive passed that exam for me. What the drive did was make the material less abstract, because I had watched a computer start from something other than its own disk.
Two other things were worth it. A separate practice machine, even a used one, so a mistake costs you an afternoon instead of your only computer. And a notebook with the specific steps for your specific machine written in it. Mine has the Dell's setup key, the boot entry order, and the line about not holding the key down. When a piece of hardware stops being mysterious it stops being frightening, and that was most of what I was after in January 2024 when the billing software changed and I felt like the last person in the building to understand it.
Start with the stick, not with the courage
The SANDISK Ultra Dual Drive Go is 128 GB with a USB-C end and a USB-A end, rated 4.5 from roughly 39,000 ratings on the listing. Mine has booted the practice machine and carried my notes for two and a half years without being lost and without failing. Today's price is on the page.
Amazon See It on Amazon →